The appearance of a workbook can be changed using Themes. Themes help you display visually appealing data while highlighting important details. To apply a built-in theme to the workbook, use the BuiltInThemes enumeration option from GrapeCity.Core namespace.
Example
| C# |
Copy Code
|
|---|---|
fpSpread1.AsWorkbook().Theme = Theme.GetTheme(BuiltInThemes.Facet); |
|
| Visual Basic |
Copy Code
|
|---|---|
FpSpread1.AsWorkbook().Theme = Theme.GetTheme(BuiltInThemes.Facet) |
|
Spread Designer provides built-in themes in the Page Layout > Themes group. You can apply the desired themes from the available list of themes. You can also customize the colors and fonts of the current theme and save them too to give the workbook a unique appearance. However, you can also delete the custom color scheme and font scheme if not required.
To apply the built-in themes, you can select the desired theme from the Themes dropdown list. Once applied, the color and font of the workbook will change as per the selected theme, as displayed in the image below:
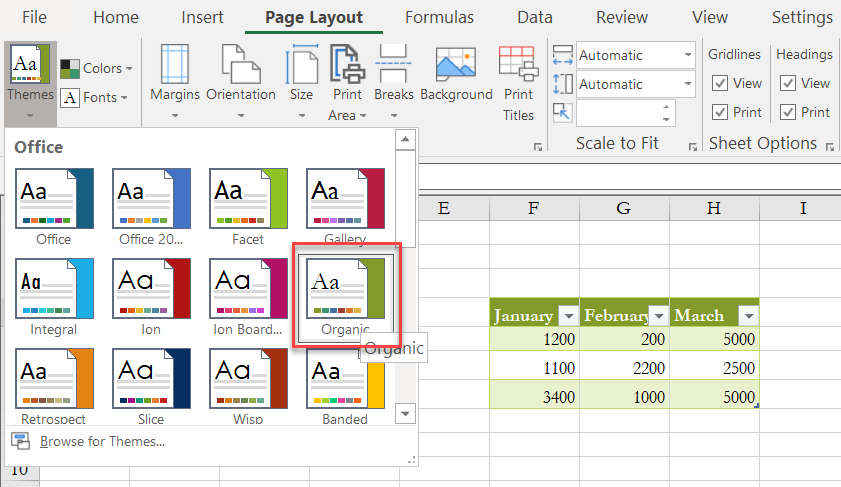
However, you can also apply any theme from your local system. For this, select the Browse for Themes... option.
The theme color represents the color scheme applied to text, backgrounds, hyperlinks, etc. of the spread control. For this, you need to click the drop-down icon associated with the Colors button. Then select the desired color scheme from the list and the colors in the workbook will be changed as per the selection.
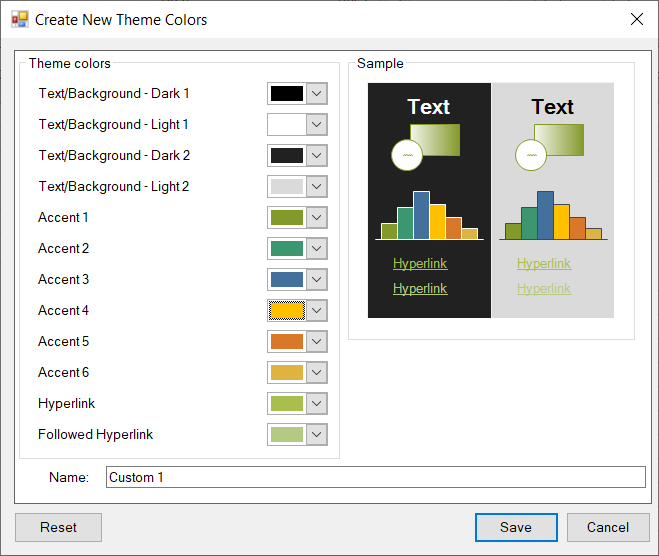
To create a new custom color scheme, you need to click on Customize Colors… at the bottom of the Colors dropdown list. In the Create New Theme Colors dialog, select the required color scheme for the text, background, accents, hyperlinks, etc. You can also preview the changes in the Sample box. Following that, you can save the custom color scheme by defining a name in the Name textbox and click Save.
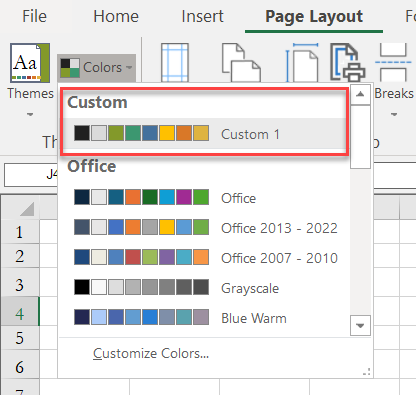
The new custom color scheme is displayed in the Colors dropdown list as displayed below.
The heading, body, column header, row header text font styles of a workbook can be changed by theme fonts. For this, you need to click the drop-down icon associated with the Fonts button. Then select the desired font style from the list and the fonts in the workbook will be changed as per the selection.
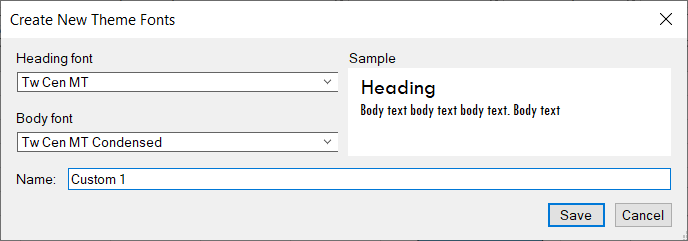
To create new custom theme fonts, you need to click on the Customize Fonts... at the bottom of the Fonts dropdown list. In the Create New Theme Fonts dialog, select the required fonts for the heading and body. On selecting, you can see the preview of the selected fonts under the Sample box. Finally, save the custom fonts’ collection by giving it a name in the Name textbox and click Save.
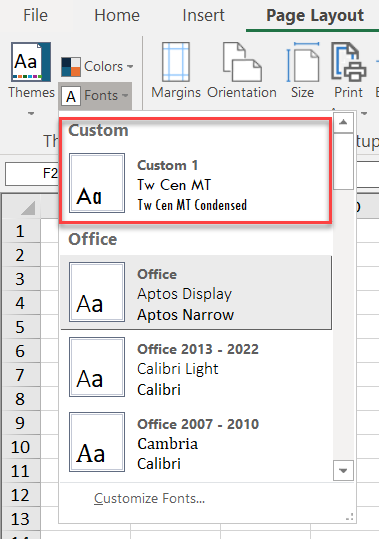
The new custom font is displayed in the Fonts dropdown list as displayed in the image below.
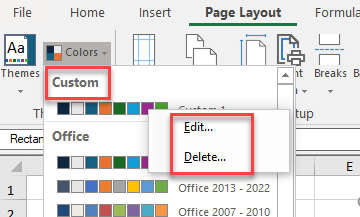
To edit or delete a custom color scheme or font style, right-click on the color or font in the Custom section and select Edit or Delete.