In This Topic
This article explains connecting a or an report to a Excel data source. You can connect to this data source while creating a new report (via report wizard) or using report explorer (via report data source dialog).
Connect to Excel Data Source using Report Wizard
The steps to connect to the Excel data source are:
- Create a New Report.
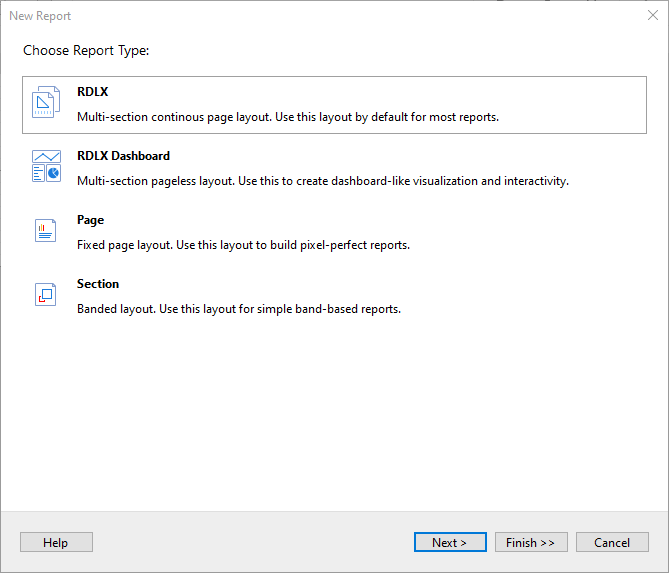
- In the New Report dialog, choose the Report Type as RDLX, RDLX Dashboard, or Page and click Next.
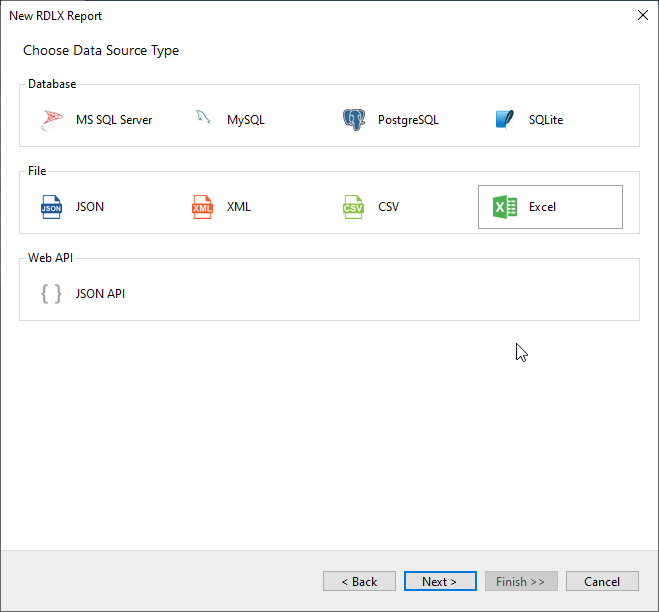
- Select the Data Source Type as Excel and click Next.
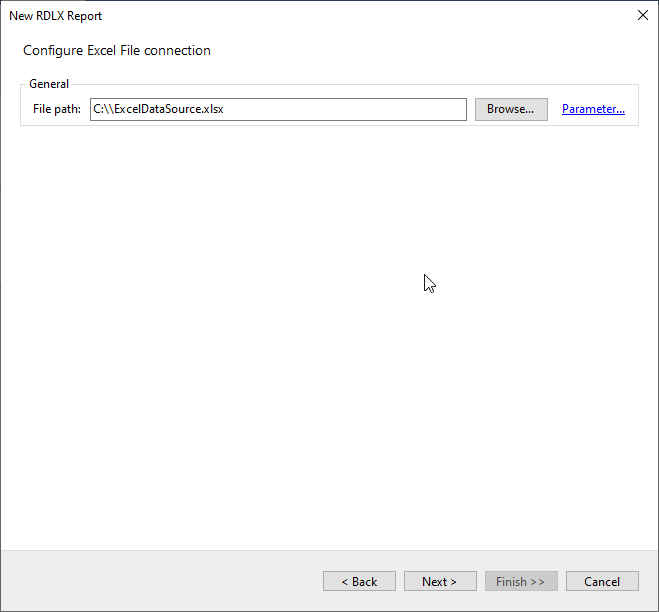
- To specify the File Path, click the Browse button and navigate to the desired file on your system.
- To specify the runtime connection values, click Parameter (or Insert Parameter for queries) to open the Parameters dialog. Then click the Add button to add a new parameter, or select the existing parameter and specify the below details:
- Name: Specify the name of the parameter.
- Type: Select the value type (string by default) from the drop-down list.
- Testing Value: Specify the runtime value for the connection properties.
- Input Source: Select Interactive for non-hidden parameters and Programmatic for hidden parameters from the drop-down list.
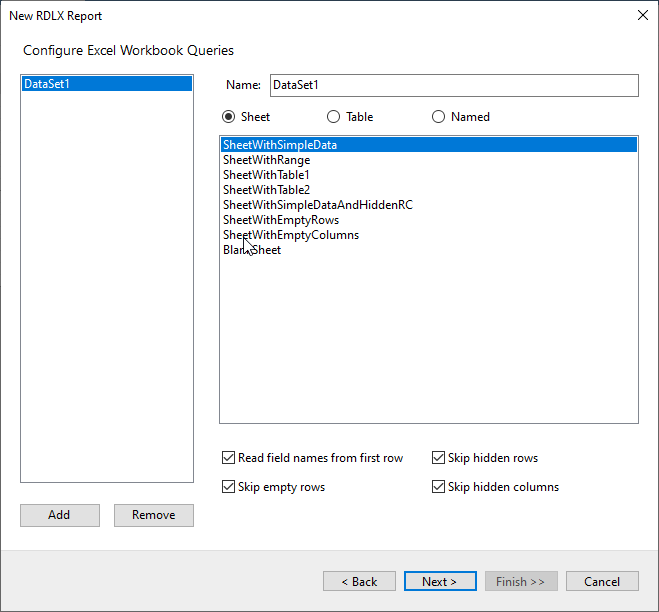
- To configure the dataset, select the desired Sheet , Table, and Named (range) of the Excel file, and click Next.
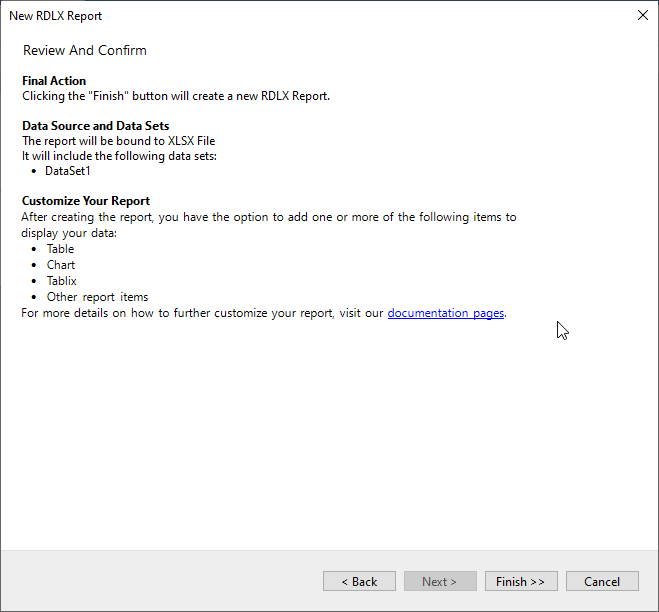
- On the final screen of the Report Wizard, review the summary of the report and click Finish to successfully add the report with the Excel data source.
Connect to a Excel Data Source using Report Data Source dialog
- In the Report Explorer, right-click the Data Sources node and select the Add Data Source option or click the Add button and select the Data Source option.
- In the Report Data Source dialog that appears, select the General page and enter the data source name in the Name field. By default, the data source name is set to DataSource1. This name appears as a child node to the Data Sources node in the Report Explorer.
- Under the Type field, select Excel Provider.
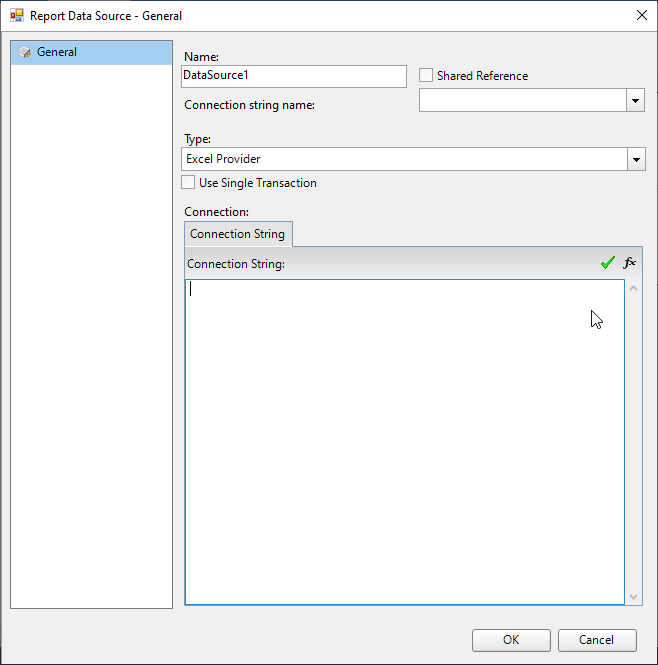
- On the same page under the Connection section, enter the connection string to connect to the Excel data source. For example:
Path=C:\\ExcelDataSource.xlsx;
- Verify the generated connection string by clicking the Validate DataSource icon
 .
.
- Click OK to save the changes and close the Report Data Source dialog box.
Configuration Settings for Excel Data Source
The Excel Data Provider provides the following configuration settings in the Report Wizard dialog.
| Setting |
Description |
| Sheet |
Select the sheet of the Excel file that you want to use. |
| Table |
Select the table that you want to use. |
| Named |
Select the desired named range of the Excel file. |
| Read field names from the first row |
Select the check box to use the first row from the Excel table as field names. |
| Skip hidden rows |
Select the check box to skip the hidden rows present in the Excel table. |
| Skip empty rows |
Select the check box to skip the empty rows present in the Excel table. |
| Skip hidden columns |
Select the check box to skip the hidden columns present in the Excel table. |