Layers can be understood as a group of controls that can overlay with other groups of controls on a Page or an RDLX report. The controls are editable only on the currently selected layer. You can toggle between the layers and create a design in each layer. You can lock or unlock, add or remove, and show or hide these layers. When you create a new report, a default layer is automatically added to it.
This feature is available in both Page and RDLX reports.
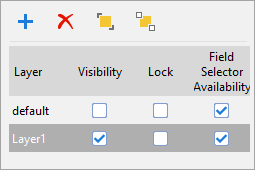
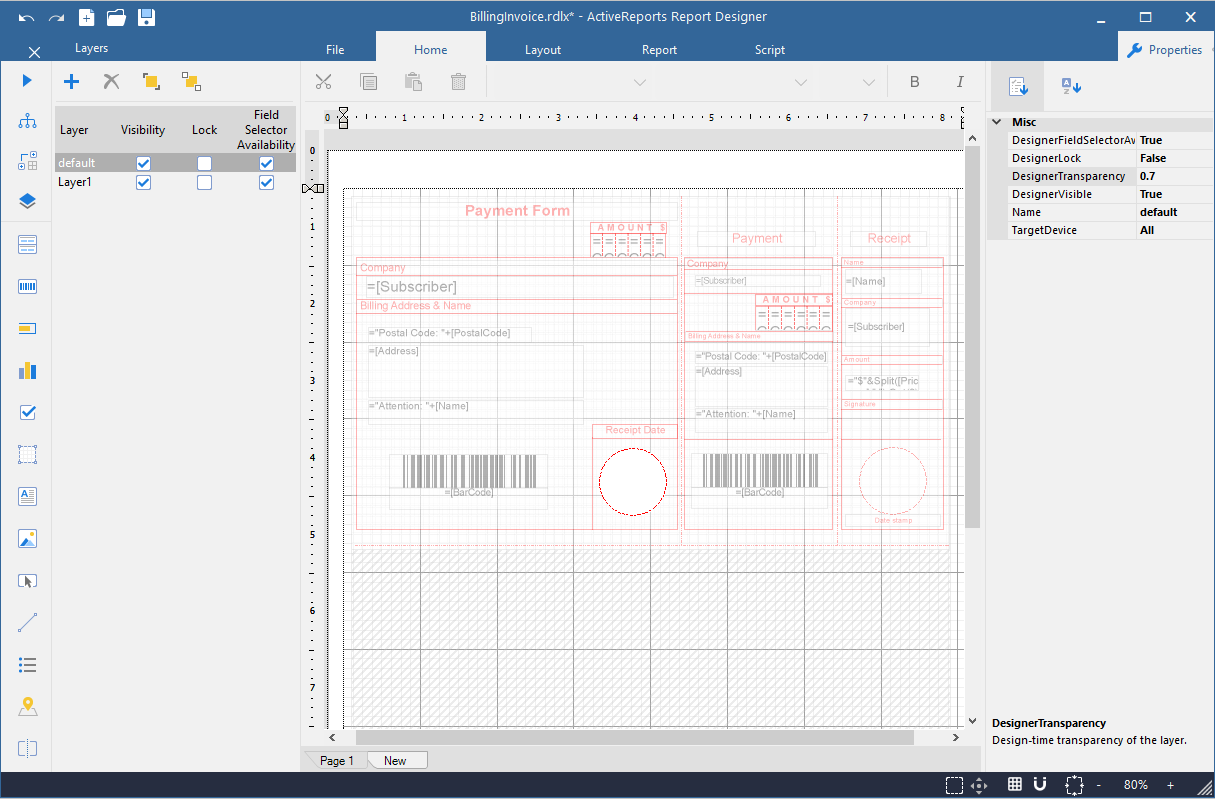
The Layers Editor can be accessed from the Toolbox > Layers  on the left panel of the designer. The following table lists the actions you can perform through the Layers Editor.
| Layers Element | Description |
|---|---|
 New |
Adds a layer to the layer collection. |
 Remove |
Removes the selected layer from the layer collection. |
 Bring to Front |
Brings the group of controls placed on a selected Layer to the front of the controls on other layers. |
 Send to Back |
Brings the group of controls placed on a selected Layer to the back of the controls on other layers. |
| Visibility | Toggles the visibility of the selected layer at design time. This lets you see what controls are there on each layer. |
| Lock | Toggles locking and unlocking of the layers. Locking a layer locks all of the controls on it to prevent accidental changes. |
| Field Selector Availability |
Controls the visibility of the data field icons for the entire report or certain controls placed in a specific layer. Note: The property is only applicable on selected controls, which are: TextBox, CheckBox, InputField, Image, Table, and Tablix. |
Selecting any Layer from the Layers editor reveals the following properties in the Properties panel.
| Property | Value | Description |
|---|---|---|
| DesignerFieldSelectorAvailability | True/False |
Control the visibility of the data field icons for the entire report or certain controls placed in a specific layer. This property can also be set using the checkbox for Field Selector Availability in the Layers Editor. |
| DesignerLock | True/False |
Locks or unlocks controls placed on a Layer. You cannot move or resize the controls placed on the design surface of a locked Layer through a keyboard or a mouse. Other editing functions like cut, copy, or paste and addition or deletion of controls are possible. This property can also be set using the checkbox for Lock in the Layers Editor. |
| DesignerTransparency | 0 to 1 | Sets the transparency of the controls on a Layer at design time to a value between 0 and 1. A Layer with transparency set to 1 is not visible on the designer. |
| DesignerVisible | True/False |
Determines if the controls placed on a Layer are visible on the designer or not. This property can also be set using the checkbox for Visibility in the Layers Editor. |
| Name | Layer Name (string) |
Sets the name of a Layer (except the Default Layer). |
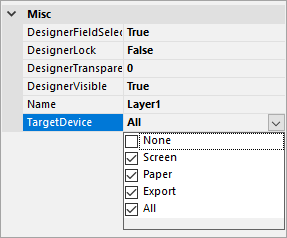
| TargetDevice | None, Screen, Paper, Export, All |
Specifies or limits the visibility of controls placed on a Layer based on the selected target. |
The TargetDevice property determines whether you can view, export, or print the controls placed on a Layer. This property allows you to show or hide the controls that belong to a Layer on a specific target device. For example, if you want to display controls placed on Layer1 in the WinViewer and export the output to PDF, you can select the Screen and Export options of the TargetDevice property simultaneously.
TargetDevice property allows you to select from the following options:
Use the following steps to set or change the TargetDevice property of a Layer:
| TargetDevice | Output Type | Description |
|---|---|---|
| None | - | Controls placed on a Layer cannot be viewed, exported or printed. |
| Screen | WinViewer | Controls placed on a Layer can be viewed on any of the supported viewers. |
| WebViewer | ||
| WPF Viewer | ||
| Paper | Physical/ Virtual Printer | Controls placed on a Layer are can be printed to physical or virtual printers. |
| Export | Controls placed on a Layer are exported to any of the supported file formats. See Export in Desktop Viewer for more information on the export formats. | |
| All | All Outputs | Controls placed on a Layer can be viewed, exported and printed. |
Leverage the advantage of Layers in scenarios where you do not want to make changes to an existing report but want to perform minor modifications to the layout. With Layers, it is possible to make modifications to the same report without changing the original report layout. Let's take an example of a sales receipt to see how Layers can help in this scenario.
The requirement in this scenario is that a hard copy of the report is printed with a Customer Copy watermark and the soft copy of the same report is exported to an export format in a PDF format with a Merchant Copy watermark.
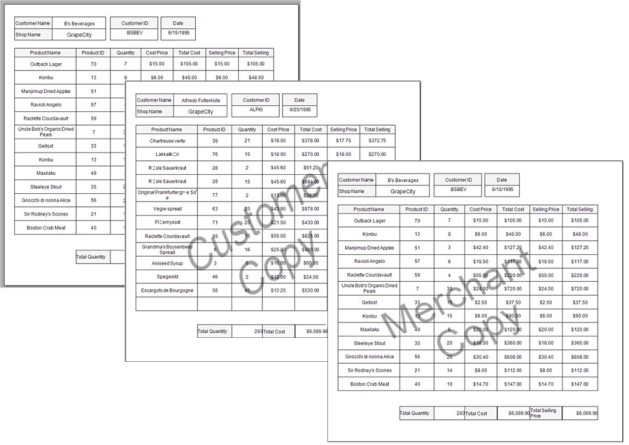
We have created the original sales receipt layout in the default layer and locked the layer by checking the Lock element. This step is necessary to make sure that the existing layout is not modified while making edits in the other layer.
After that, we added two Layers, one layer to contain the Customer Copy watermark image, and the other to contain the Merchant Copy watermark image. The TargetDevice property for the Customer Layer is set to Paper for printing a hard copy of the sales receipt and for the Merchant Layer to Export for exporting it to an export format.
Layers can be used to create a layout of a pre-printed form, a form with some fixed data. This is particularly useful when you want to replicate a layout of a pre-printed form that is either uneditable or unavailable in soft copy.
Let us take an example of an order invoice sent to the customers to see how Layers can help replicate the layout of the scanned image easily. You can also follow the following steps to create the layout of your desired report.