In This Topic
This article explains connecting a or an report to a SQLite data source. You can connect to this data source while creating a new report (via report wizard) or using report explorer (via report data source dialog). SQLite data source is a custom data provider, so the data provider needs to be configured. See section Custom Data Provider in Configure ActiveReports topic before you begin connecting to the SQLite Provider.
Connect to SQLite Data Source using Report Wizard
The steps to connect to the SQLite data source are:
- Create a New Report.
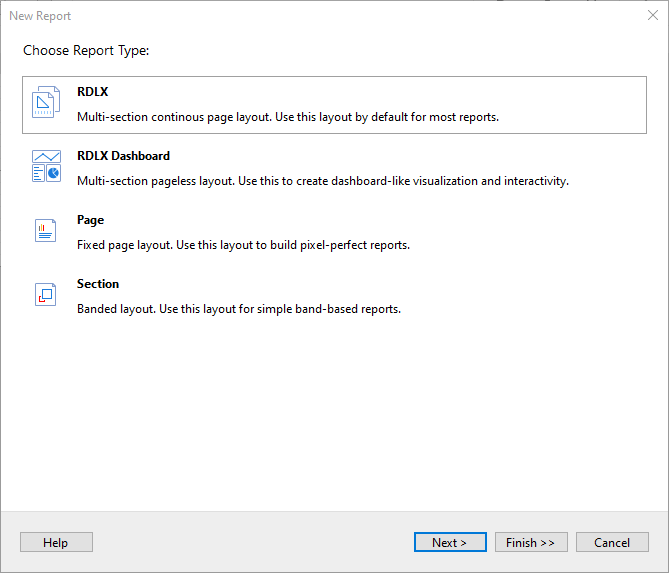
- In the New Report dialog, choose the Report Type as RDLX, RDLX Dashboard, or Page and click Next.
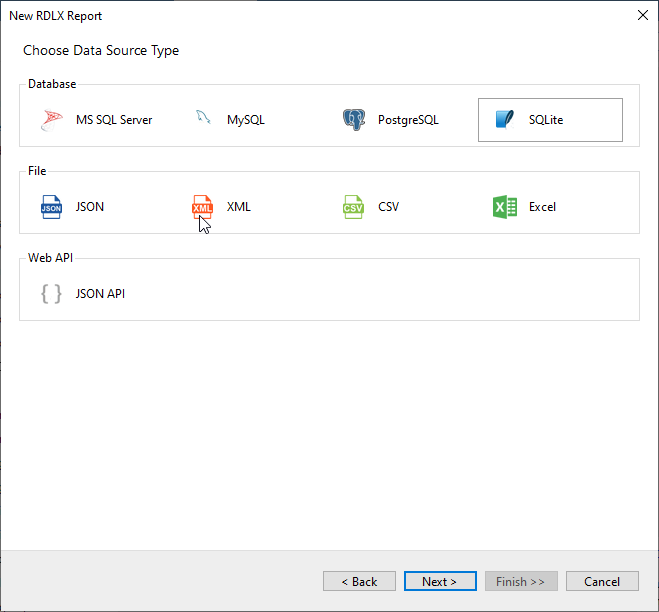
- Select the Data Source Type as SQLite and click Next.
- To specify the Database Path, click Browse and navigate to the desired file on your system.
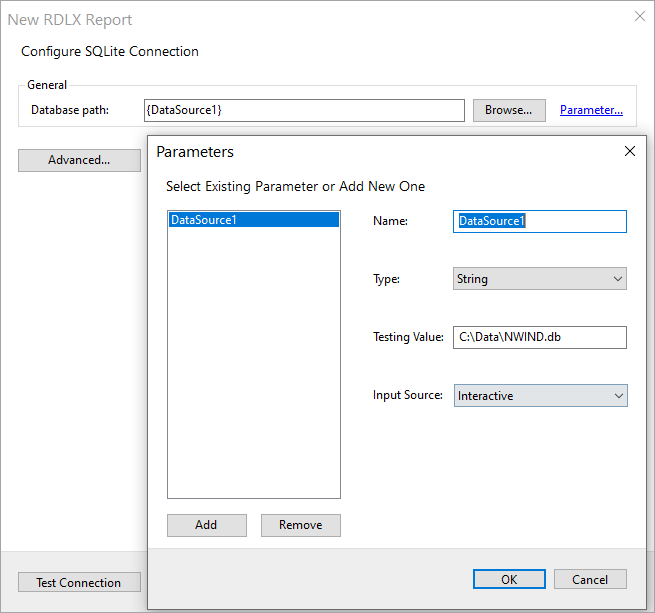
- To specify the runtime connection values for database path, let us add a parameter as follows:
- Click on the Parameter link to open the Parameters dialog, and then click the Add button to add a new parameter.
- Specify the below details:
- Name: Specify the name of the parameter.
- Type: Select the value type (string by default) from the drop-down list.
- Testing Value: Specify the runtime value for the connection properties, eg 'C:\Data\NWIND.db'.
- Input Source: Select Interactive (in our case) for non-hidden parameters and Programmatic for hidden parameters from the drop-down list.
- Click OK to finish adding the parameter.
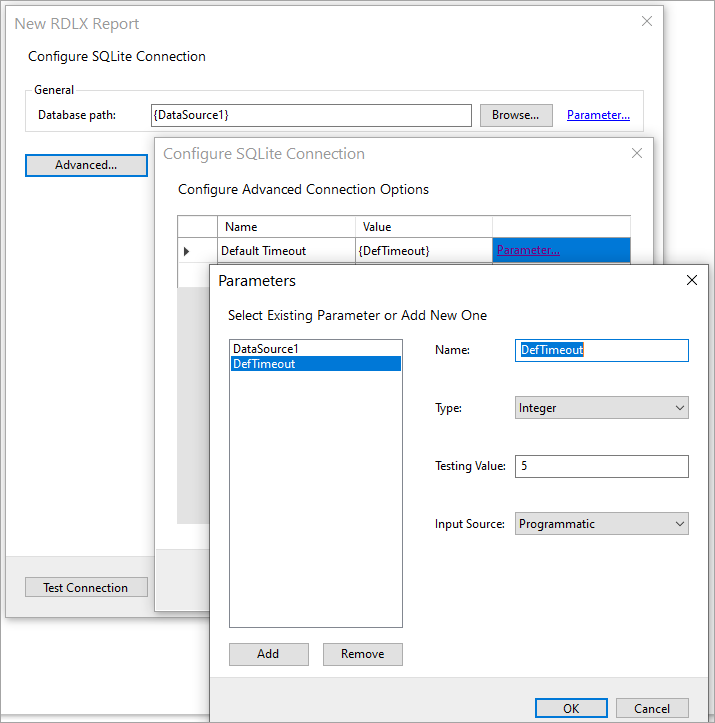
- Select Advanced to specify key-value pairs for additional configuration, and add a new parameter with details as in the previous step.
Let us add the 'Default Timeout' option to specify the hidden parameter 'DefTimeout' of type 'Integer' to '5'.
- Click Test Connection to test the connection.
- Click Next, and configure the dataset to retrieve the fields by adding a valid query.
You can also provide a parameterized query by first using the 'Insert parameter' option to create a parameter and then utilizing the parameter in the query.
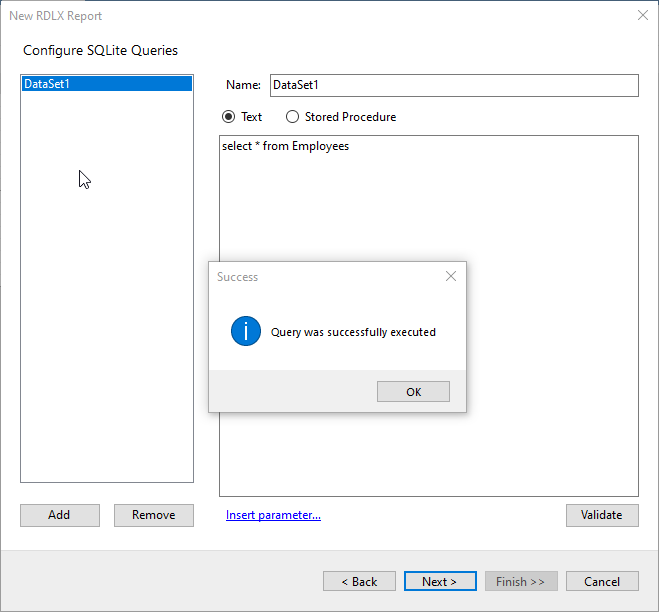
- On the final screen of the Report Wizard, review the summary of the report and click Finish to successfully add the report with the SQLite data source.
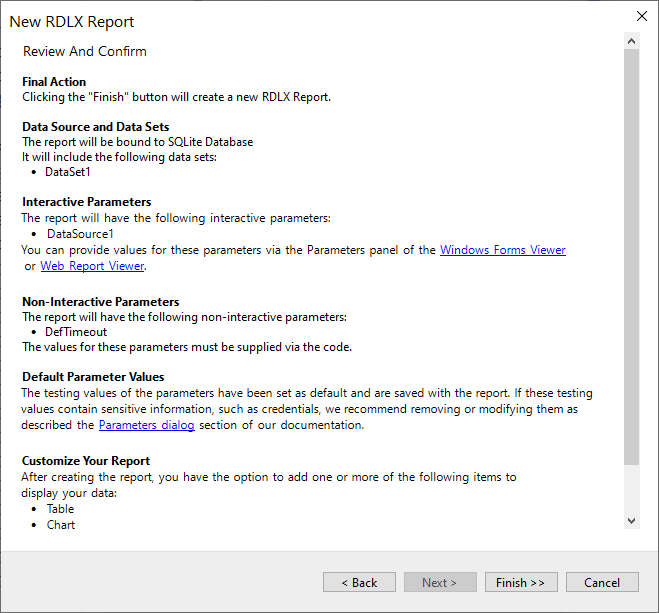
Connect to a SQLite Data Source using Report Data Source dialog
- In the designer, go to the Report Explorer, right-click the Data Sources node and select the Add Data Source option or click the Add button and then select the Data Source option.
- In the Report Data Source dialog that appears, select the General page and enter the name of the data source in the Name field. By default, the data source name is set to DataSource1. This name appears as a child node to the Data Sources node in the Report Explorer.
- Under the Type field, select SQLite Provider.
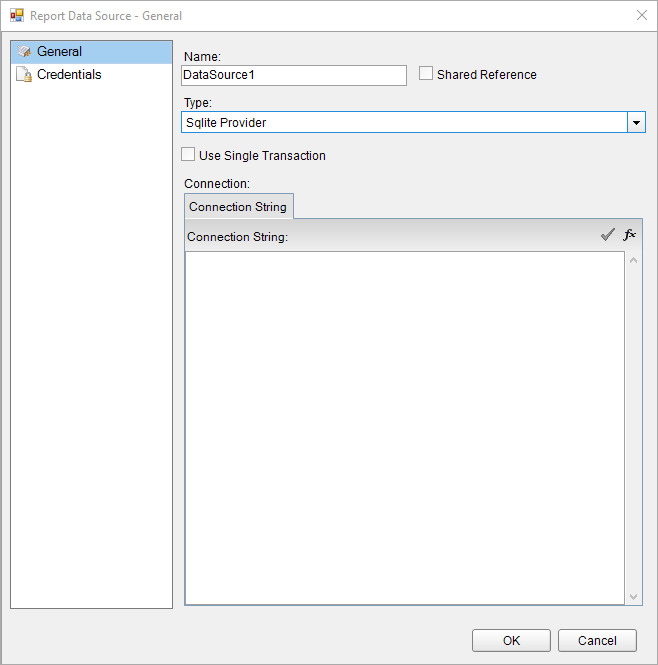
- In the Connection Properties tab, enter the connection string to connect to the data source. For example, you can connect to the 'NWIND.db' sample data source that can be downloaded from GitHub and write the connection string as shown below:
data source=C:\NWIND.db;
- Click the Validate DataSource icon to verify the connection string.
- Click OK to close the Report Data Source dialog. Your report is now connected to the SQLite data source successfully.
To specify the authentication method for the data source connection, go to the Credentials page and select the Use Windows Authentication or Use a specific user name and password option.


