How to Build and Deploy a .NET 6 Desktop Reporting Application
Developments in ActiveReports ensure people can design and distribute reports from different domains. ActiveReports v16 includes .NET 6 support which gives access to reporting applications from different platforms.
Creating Desktop-based .NET Core Reporting Apps
User Scenario
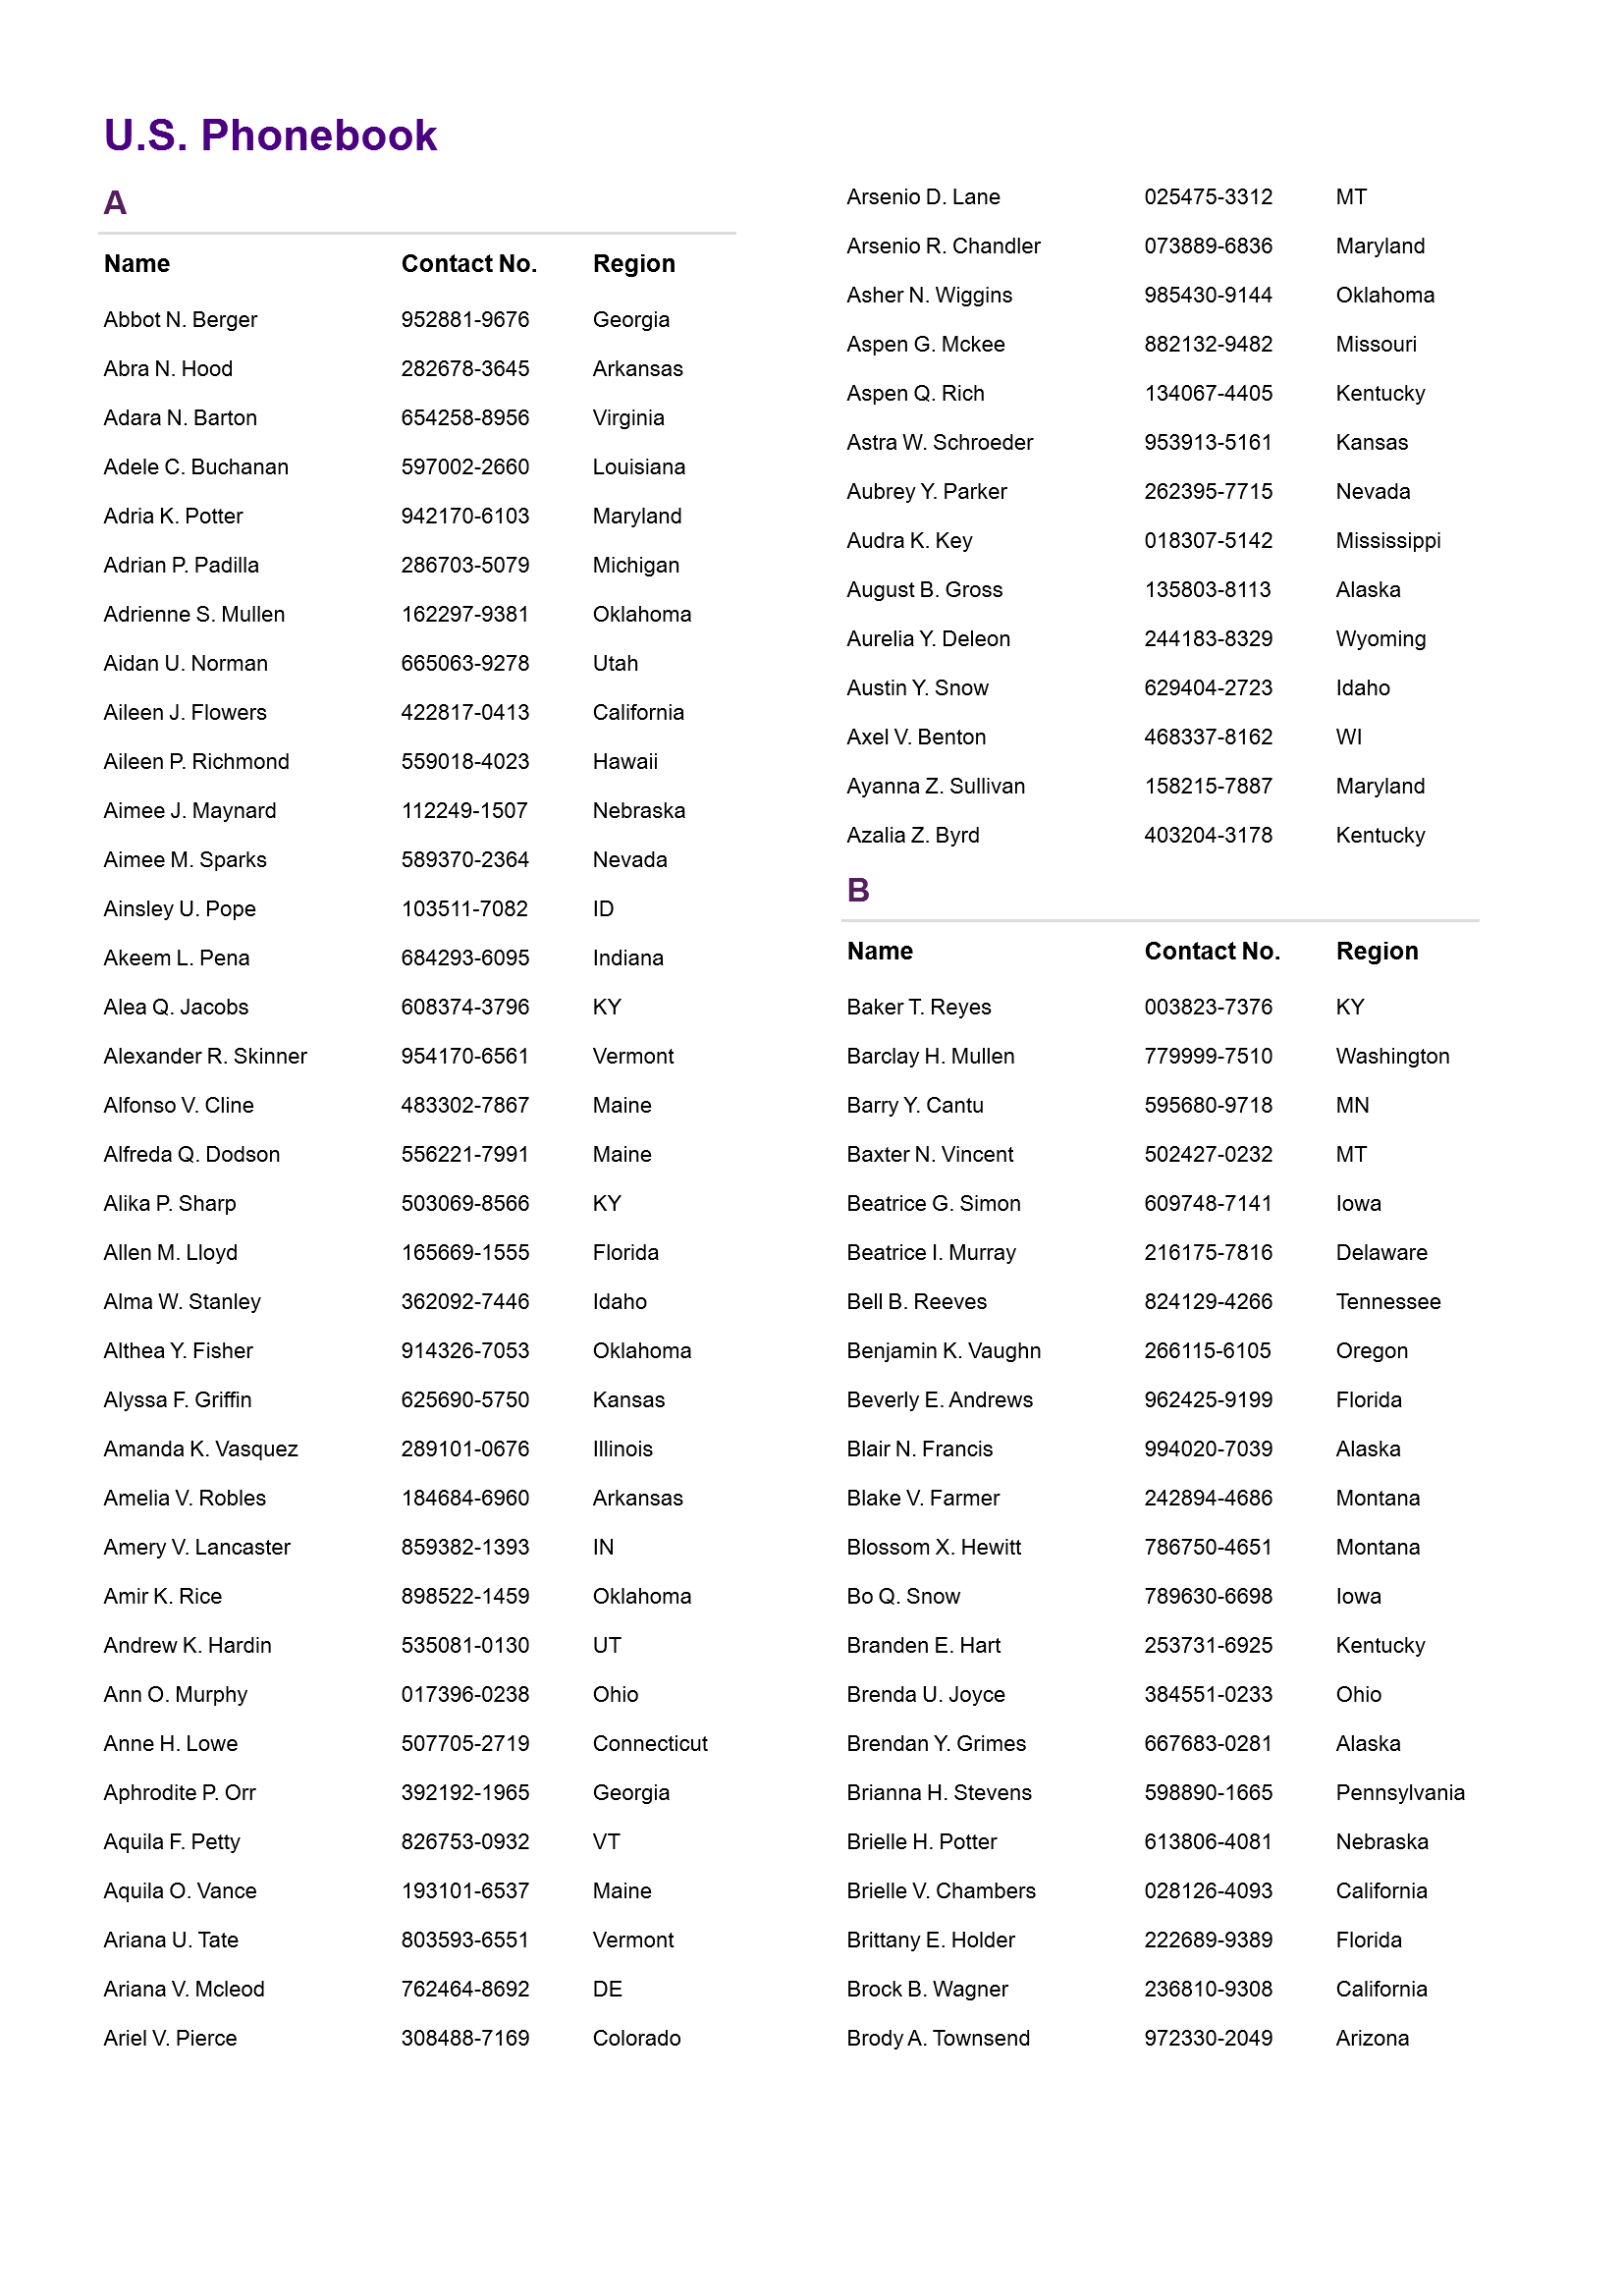
You’re tasked with creating a directory containing U.S. citizens’ phone numbers for distribution to government agencies. Government agencies will use this list to conduct phone surveys on public interests.
This directory needs to be distributed to the government-based companies who would use the numbers to conduct surveys on general public health and interests. To meet this requirement, you had collected the contact numbers from multiple sources and placed them together in a JSON file.
To arrange the data like a phone book, you have created a report like below.
Before distributing the report, consider the following:
- Government officials from different companies use different Windows platforms, and a single distributable file should work for them all
- Companies are not required to have prerequisites
- Running the application at the end user's site should require minimum effort
Creating a desktop-based .NET Core application covers all the above points. You can display the report using the AR.NET v16 Viewer control and deploy the application in a self-contained mode.
How to Create a .NET Core Application Using AR.NET v16
- Add Packages From NuGet Gallery
- Add/Design a Report
- Add Viewer Control and Loading Report
- Deploy the Application
*Prerequisites: Visual Studio 2022 and .NET 6
Step 1. Add Packages From NuGet Gallery
Create a Windows Form App (.NET Core) in Visual Studio 2022. Choose and install a package from the NuGet Package Manager
- For previewing reports: ‘GrapeCity.ActiveReports.Viewer.Win’
- For creating reports: ‘GrapeCity.ActiveReports.Design.Win’
- For exporting reports to different formats: ‘GrapeCity.ActiveReports.Export.*'
For this example, we chose ‘GrapeCity.ActiveReports.Viewer.Win’
Step 2. Add/Design a Report
Add the report rptTelephoneDirectory.rdlx in the project. Design a new or existing Page, RDL, or Section report.
Note: Set ‘Copy to Output Directory' property of the added report to Copy always, from the properties window.
Step 3. Add Viewer Control and Loading Report
Add the following code in the code-view of Form1.cs:
GrapeCity.ActiveReports.Viewer.Win.Viewer _viewer = new GrapeCity.ActiveReports.Viewer.Win.Viewer();
_viewer.Dock=DockStyle.Fill;
_viewer.LoadDocument(Application.StartupPath + “rptTelephoneDirectory.rdlx”);
this.Controls.Add(_viewer);
Run the application to view your report.
*Note: Design-time operations in .NET Core WinForms and WPF applications are not yet supported for Section reports(code-based).
Step 4. Deploy the Application
Deploy the application using dotnet command or Visual Studio.
dotnet publish –c Release –r win-x64 --self-contained true /p:PublishSingleFile=true The EXE generated in the publish folder can be distributed further to the end-users. Distribute the report along with the EXE, so it runs successfully.
In addition to desktop-based applications, web-based applications can also be created and distributed using ASP.NET Core. .NET Core offers users a number of features and works with many reporting applications.
Let us know how you’re using ActiveReports v16 with .NET 6 reporting.
Attachments
References
Related Blogs
ActiveReports.NET Resources

Neha Madan