You can use Spread Windows Forms in Visual Studio 2015. Use the following steps to add a Spread control to a project in Visual Studio 2015.
- Start Visual Studio .NET.
- From the File menu, choose New, Project.
- In the New Project dialog, in the Installed area, select a project type depending on the language environment in which you are developing. For example, choose Windows under Visual Basic.
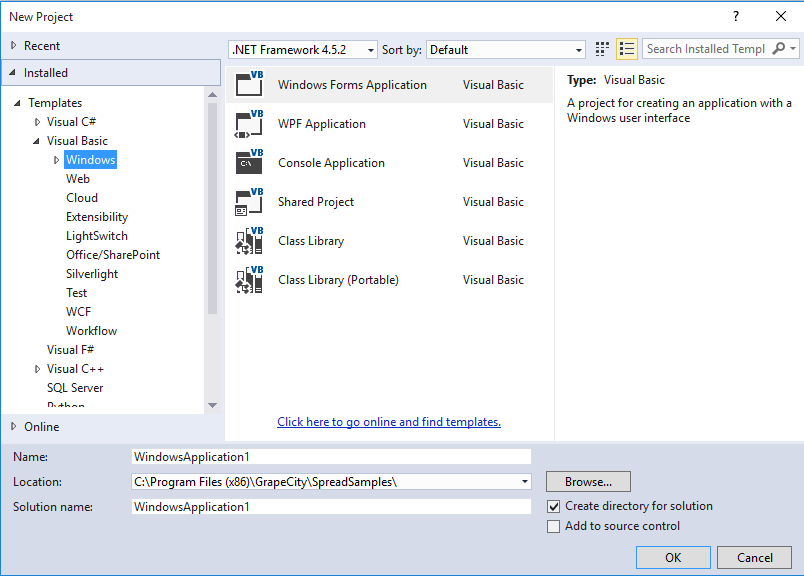 New Project
 - Choose the type of project such as Windows Forms Application.
- In the Name box, type the name of the new project. The default is WindowsApplication1 for the first Windows Forms application.
- In the Location box, leave the location path as the designated path, or click Browse to change the path to a new directory.
- Select OK. If your project does not display the Solution Explorer, from the View menu, choose Solution Explorer. In the Solution Explorer, right-click on the form name, Form1. Choose Rename from the pop-up menu, then type the new form name you prefer for the new form name.
- With an open project, in the Toolbox under GrapeCity Spread (or whatever category to which you added it), select the FpSpread component.
- On your Windows Forms page, draw a Spread component by dragging a rectangle the size that you would like the initial component or simply double-click on the page. The Spread component appears. The Spread Designer also appears by default. Close the designer.

Your project should look similar to the following image.  Component in Project

MESCIUS inc.