Spread for ASP.Net supports displaying images in it's cell. There are scenarios, where the end-user (not the programmer), would like to load some image, and display the same in a Spread Cell. In this article, I am going to share information on how to allow your end users to set image inside a Spread cell dynamically. Uploading an image to a Spread cell is as simple as loading it for an image control. You may place your image under a folder on a Server and set the URL for image cell on Spread sheet to that folder. Here is a step by step guide to help you achieve this:
- Create a Spread instance on your web page.
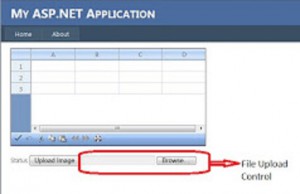
- Place a FileUpload control on your web page along with a server side button control. Just like shown in this:

- On button click event, first check if there is an existing image file on server in "img" folder. If so, delete the same before uploading the new image. Here different approach can also be used. But the end objective is to have the file available on the server. We will continue with approach, where the old image files are removed. To do this we first create a DirectoryInfo class object to get the details of the files in this directory.
DirectoryInfo di = new DirectoryInfo(Server.MapPath("img"));
- Now create a FileInfo class object to get all files with a .jpg extension. You may do it for all other image type files. As of now for blog implementation, I am focusing on how you can do this for .jpg file.
FileInfo[] rgFiles = di.GetFiles("*.jpg");
- Delete all the found .jpg files in "img" folder on server.
             foreach (FileInfo fi in rgFiles)
               {
                 fi.Delete();
               }
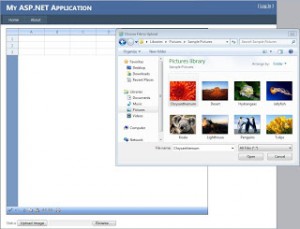
- Clicking on the Upload Control should give you a select file dialog as shown in this image:
 11. Now lets write some code to upload this selected file to "img" folder on server.
// Check whether file upload control has a file
if (FileUpload1.HasFile)
{
  //check whether the selected file is a .jpg image file
  if (FileUpload1.PostedFile.ContentType == "image/jpg")
  {
    //limit the image file size in bytes.
    if (FileUpload1.PostedFile.ContentLength < 102400)
    {
      //upload the file to "img" folder
      string filename = Server.MapPath("img") + "\\\" + Path.GetFileName(FileUpload1.FileName);
      // save the file to "img" folder
      FileUpload1.SaveAs(filename);
      // create an ImageCellType object
      FarPoint.Web.Spread.ImageCellType img = new FarPoint.Web.Spread.ImageCellType();
      // set the ImageUrl property for ImageCellType object to the uploaded file in "img" folder
      img.ImageUrl = "img/" + FileUpload1.FileName;
      // set the celltype for Spread sheet's cell(0,0) to image cell type
      FpSpread1.ActiveSheetView.Cells[0, 0].CellType = img;
    }
  }
}
You may download the samples in VB.Net and C# to test at your end. Run the attached project after extracting and upload any Jpeg image from your machine to Spread cell. Download Sample VB.Net Download Sample C#


