Using Visual Studio Template
In This Topic
Visual Studio Project template allows you to create a simple MAUI application. A few additional steps are required to configure the project created using the basic Visual Studio project template and to use C1 MAUI controls with it.
This topic guides you through the steps of creating and configuring a MAUI application using the .NET MAUI project templates in Visual Studio 2022. First, you need to make sure to check the System Requirements before proceeding.
You need to perform the following steps to configure the project created using the Visual Studio project template and use the ComponentOne MAUI controls.
- Open Visual Studio and select Create a new project from the Get started pane.

- In the Create a new project window, select C# from the language drop-down and MAUI from the project drop-down.
- Select the .NET MAUI App project type and click Next.

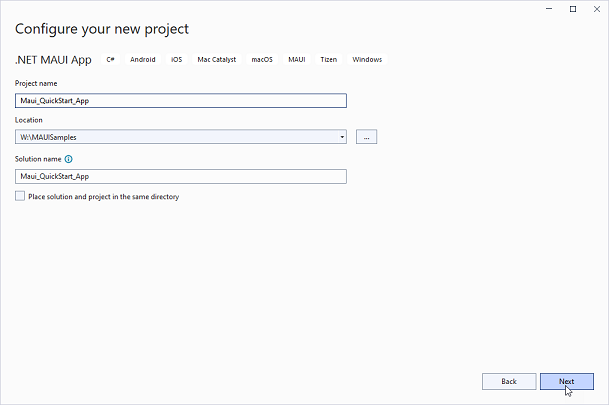
- In the Configure your new project window, provide name of the project you want to create in the Project name field, say Maui_QuickStart_App, and location for the project in the Location field. Then, click Next.
- In the Additional information dialog, select the target framework from the Framework dropdown, if required and click Create. By default, the selected framework is .NET 6.0.
A new .NET MAUI app is created.

After creating a MAUI application, you can start using ComponentOne MAUI controls by installing any of the following NuGet packages as per your requirements:
- C1.Maui.Calendar
- C1.Maui.Core
- C1.Maui.Grid
- C1.Maui.GridControl
- C1.Maui.Input