ComponentOne MVC Edition's InputDate control has a built-in validator, ItemValidator that lets you control the type of data or the value that users select from the InputDate drop down. All you need to do is create a validation function, which is assigned to ItemValidator to allow or restrict the selection of dates by the user.
In this example, ItemValidator is created so that a user can select a weekday, but not Saturdays and Sundays i.e. in the InputDate control. This kind of validation is useful while planning your work sprints, workout days or diet plan.
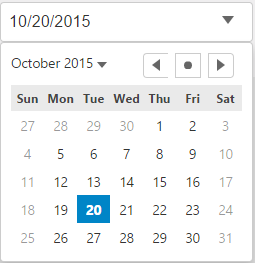
The following images show how the InputDate control appears after applying ItemValidator function to it.
The following code examples demonstrate how to add ItemValidator in the InputDate control:
Add a new Controller:
Default1Controller).InputDate.cshtml
| HTML |
Copy Code
|
|---|---|
@{
    var today = DateTime.Now.Date;
    var minDate = new DateTime(today.Year, 1, 1);
    var maxDate = new DateTime(today.Year, 12, 31);
}

<script>
    function itemValidator(date) {
        var weekday = date.getDay();
        return weekday != 0 && weekday != 6;
    }
</script>

<div>
    <c1-input-date value="@today" min="@minDate" max="@maxDate" item-validator="itemValidator">
    </c1-input-date>
</div>
|
|