The ItemFormatter property lets you customize the FlexPie using a JavaScript function. This topic demonstrates how to add labels over the pie slices with the help of this property.
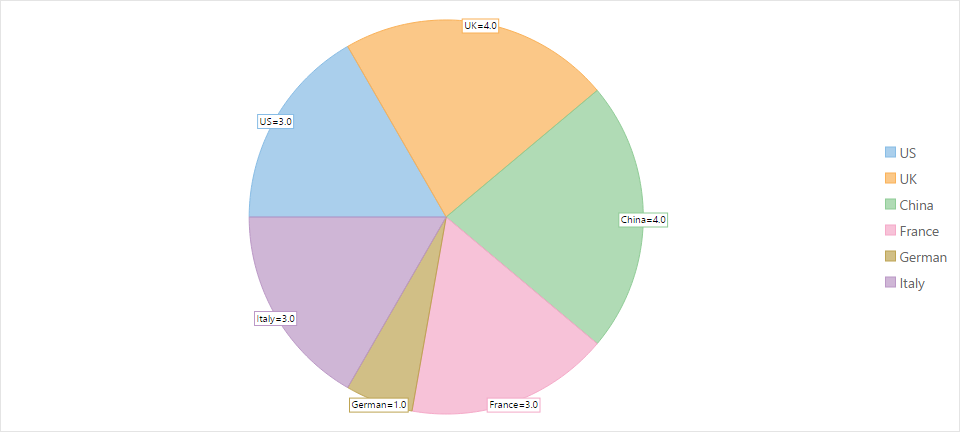
The image below shows the how the labels appear over the pie slices.
| Javascript |
Copy Code
|
|---|---|
<script> function formatItem(label, hitTestInfo, defaultFormatter) { var fsz = label.fontSize; label.fontSize = '10'; defaultFormatter(); var point = hitTestInfo.point.clone(); var text = hitTestInfo.name + '=' + hitTestInfo.value.toFixed(1); var sz = label.measureString(text); var fill = label.fill; label.fill = 'white'; label.drawRect(point.x - 2 - sz.width / 2, point.y - sz.height + 10, sz.width + 4, sz.height); label.fill = fill; point.x -= sz.width / 2; point.y += 9; label.drawString(text, point); label.fontSize = fsz; } </script> |
|
Set the ItemFormatter property as shown in the code below to add the labels onto the FlexPie. The following example uses the sample created in the Quick Start topic.
| HTML |
Copy Code
|
|---|---|
<c1-flex-pie binding-name="Country" binding="Sales" item-formatter="formatItem"> </c1-flex-pie> |
|