ASP.NET Core MVC Controls | ComponentOne
Working with Controls / FlexMap / Quick Start
In This Topic
    Quick Start
    In This Topic

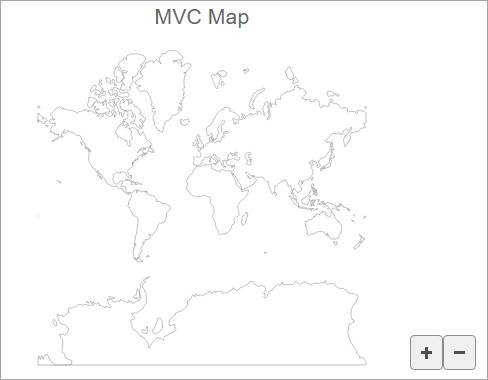
    The quick start guides you through the steps of adding the FlexMap control to your MVC web application, adding a layer to the map and setting the data source of map layer to display the world map. In the following example, we have used Layers property of the FlexMap class to set the map layer and added a GeoMap layer to it using the AddGeoMapLayer method. In addition, we specified the data source for the map layer using the Url property.

    MVC FlexMap with geomaplayer

    To accomplish this, follow these steps:

    Create an MVC Application

    Create a new MVC application using the ComponentOne or VisualStudio templates. For more information about creating an MVC application, see Configuring your MVC Application topic.

    Back to Top

    Add FlexMap

    To add the FlexMap control to your application, add C1.Web.MVC reference and follow these steps:

    Add a new Controller

    1. In the Solution Explorer, right click the folder Controllers.
    2. From the context menu, select Add | Controller. The Add Scaffold dialog appears.
    3. In the Add Scaffold dialog, follow these steps:
      1. Select the MVC 5 Controller - Empty template.
      2. Set name of the controller (for example: FlexMapController).
      3. Click Add.

    Add a View for the Controller

    1. From the Solution Explorer, expand the folder Controllers and double click the FlexMapController.
    2. Place the cursor inside the method Index().
    3. Right click and select Add View. The Add View dialog appears.
    4. In the Add View dialog, verify that the View name is Index and View engine is Razor (CSHTML).
    5. Click Add to add a view for the controller. Copy the following code and paste it inside Index.cshtml.
      Index.cshtml
      Copy Code
      @using System.Drawing
      
      <c1-flex-map id="flexMap" header="MVC Map" height="500px">
          <c1-geo-map-layer url="/Content/data/land.json"></c1-geo-map-layer>
      </c1-flex-map>
      
    Back to Top

    Build and Run the Project

    1. Click Build | Build Solution to build the project.
    2. Press F5 to run the project.
      Append the folder name and view name to the generated URL (for example: http://localhost:1234/FlexMap/Index) in the address bar of the browser to see the view.
    Back to Top