You can add multiple ranges to a single gauge. Each range denotes a region or a state which can help the user identify the state of the gauge's value. Every range has its Min and Max properties that specify the range's position on the gauge, as well as Color and Thickness properties that define the range's appearance.
The following code examples demonstrate how to create new instances of type Ranges, set their properties and add the newly created ranges to the LinearGauge (or RadialGauge/BulletGraph).
These examples use the sample created in the LinearGauge Quick Start section.
| HTML |
Copy Code
|
|---|---|
<c1-linear-gauge width="500px" height="100px" value="35" thickness="0.1" min="0" max="100" direction="C1.Web.Mvc.GaugeDirection.Right"> <c1-gauge-range min="0" max="40" color="red"></c1-gauge-range> <c1-gauge-range min="40" max=80 color="yellow"></c1-gauge-range> <c1-gauge-range min="80" max="100" color="green"></c1-gauge-range> </c1-linear-gauge> |
|
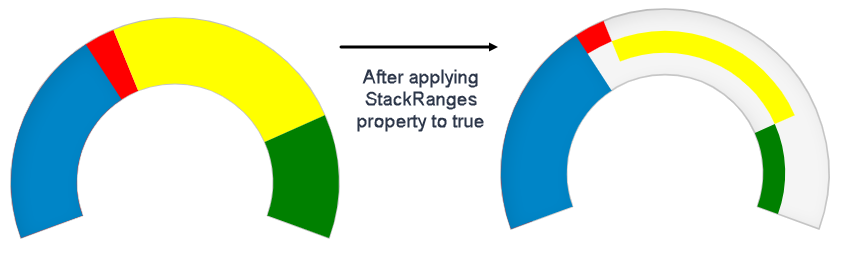
Apart from setting the min and max properties that specify the range's position on the gauge, you can also stack the ranges contained in the ranges collection within the Gauge control using the StackRanges property. By default, the StackRanges property is set to false, and the ranges in the collection are displayed with the same thickness in the control. When you set the StackRanges property to true it causes the ranges to become narrower, and to be displayed side-by-side. This property is available for all the three types of gauges; Linear Gauge, Radial Gauge, and Bullet Gauge.
The following image shows stack ranges in the Radial Gauge control.
The following code examples demonstrate how to stack ranges together in the Radial Gauge control.
| Razor |
Copy Code
|
|---|---|
.StackRanges(true)
|
|