As described in the Create Web API over Salesforce, you can invoke the GET methods of an API directly through browser, however for all other methods you would need an API platform to execute them in browser. So, in this topic we use POSTMAN, an API platform that helps you build and use APIs to consume the Web API in browser. This topic helps you understand how each API method can be invoked via POSTMAN and what results to expect when invoking an API method.
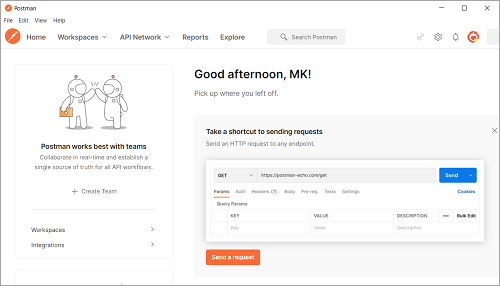
Let's start by installing Postman app. After successful installation, you can find the Postman app on your system by searching in the installed apps. Open the POSTMAN app and observe the default view as depicted in the screenshot below:
Now, let's move on to invoking and executing the WebAPI methods. Make sure that the WebAPI project is executing in the background to successfully invoke all the WebAPI methods via POSTMAN.
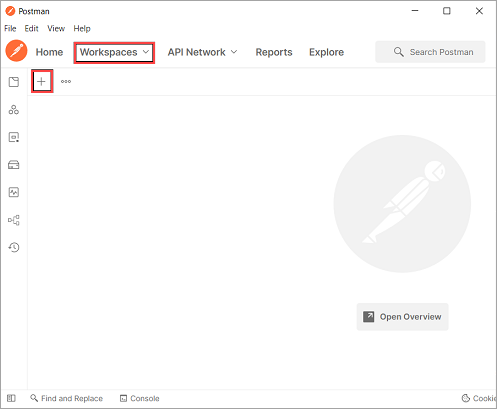
Before, we move on to invoking the methods, let's just quickly learn how to create a new API request in POSTMAN:
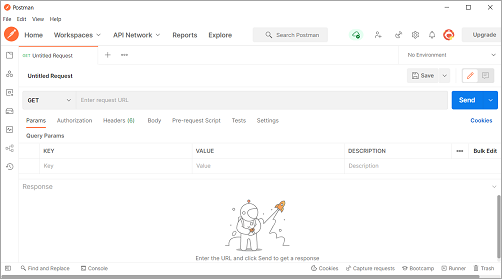
This is how the newly created request looks like:
The following two GET endpoints have been implemented in the WebAPI created above. Lets learn to invoke each one of these and also observe the output in the sections that follow.
GET /api/customerCs
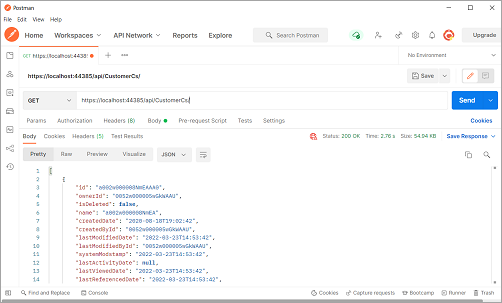
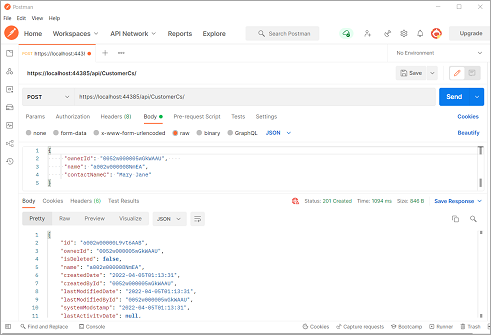
GET /api/customerCs/{id} https://localhost:<port>/api/CustomerCs. For example, https://localhost:5001/api/CustomerCs.In the screenshot below, you can observe how the request has been defined, sent by clicking the Send button and returned response displayed in the bottom tab:
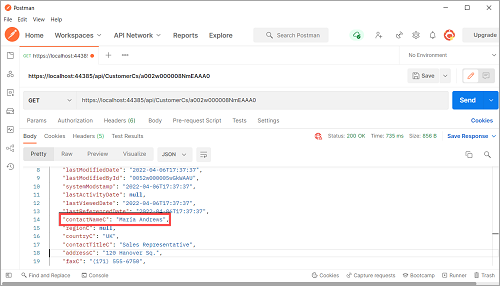
Next, set the request URI to https://localhost:<port>/api/CustomerCs/<id>, where id is the value of the record's id column which you want to fetch. Click Send and observe the response containing only one requested record:

https://localhost:<port>/api/CustomerCs.https://localhost:5001/api/CustomerCs.| JSON |
Copy Code |
|---|---|
{
"ownerId": "0052w000005wGkWAAU",
"name": "a002w000008NmEA",
"contactNameC": "Mary Jane"
} | |
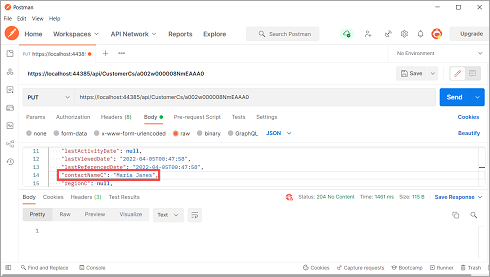
https://localhost:<port>/api/CustomerCs/<id>, where id is the value of the record's id column which you want to update . This URI is basically referring to the one generated when executing your WebAPI project from Visual Studio.
| JSON |
Copy Code |
|---|---|
{

"id": "a002w000008NmEAAA0",

"ownerId": "0052w000005wGkWAAU",

"isDeleted": false,

"name": "a002w000008NmEA",

"createdDate": "2020-08-18T19:02:42",

"createdById": "0052w000005wGkWAAU",

"lastModifiedDate": "2022-04-05T00:47:58",

"lastModifiedById": "0052w000005wGkWAAU",

"systemModstamp": "2022-04-05T00:47:58",

"lastActivityDate": null,

"lastViewedDate": "2022-04-05T00:47:58",

"lastReferencedDate": "2022-04-05T00:47:58",

"contactNameC": "Maria Janes",

"regionC": null,

"countryC": "UK",

"contactTitleC": "Sales Representative",

"addressC": "120 Hanover Sq.",

"faxC": "(171) 555-6750",

"cityC": "London",

"companyNameC": "Around the Horn",

"postalCodeC": "WA1 1DP",

"phoneC": "(171) 555-7788",

"customerIdC": "AROUT"

} | |
In the following screenshot, you can observe that a particular record has been fetched using GET(ID) method and has value "Maria Andrews" for contactNameC field.
The next screenshot displays the successfully executed PUT command, which returns no response text:
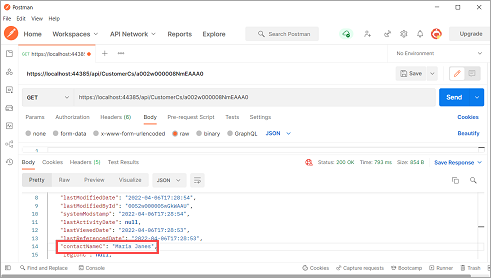
And finally we again invoke the GET(ID) method to verify the updated record as depicted below:
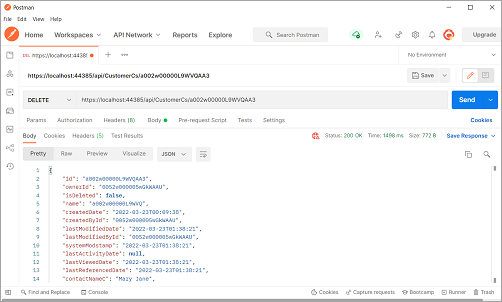
https://localhost:<port>/api/CustomerCs/<id>,The screenshot below depicts a successfully executed DELETE request:
This completes verifying the working of all Web API methods through browser. Now, let's move on to understanding how we can consume this API in Excel and a JS application.