Extended Library for UWP | ComponentOne
Extended Library Overview / ColorPicker for UWP / Quick Start / Step 1: Setting Up the Application
In This Topic
    Step 1: Setting Up the Application
    In This Topic

    In this step, you will create a new UWP project and add a standard Rectangle control to it. You will also apply gradient to the added rectangle control to customize its appearance.

    1. Open Visual Studio and select File | New | Project.
    2. In New Project dialog box, expand a language in the left pane.
      • Under the chosen language, select Windows Store.
      • In the templates list, select Blank App (XAML).
      • Enter a Name and click OK to create your project.
    3. Switch to Design view, navigate to the Toolbox and double-click the Rectangle icon to add standard rectangle control to the grid.
    4. Resize the window and expand the rectangle to fill the window.
    5. Switch to XAML view again and add a Fill by replacing the <Rectangle> tag with the following code.
      XAML
      Copy Code
      <Rectangle x:Name="Rectangle1" Stroke="Black">
        <Rectangle.Fill>
          <LinearGradientBrush x:Name="colors">
            <GradientStop x:Name="col1" Color="Black" Offset="0" />
            <GradientStop x:Name="col2" Color="White" Offset="1" />
          </LinearGradientBrush>
        </Rectangle.Fill>
      </Rectangle>
      

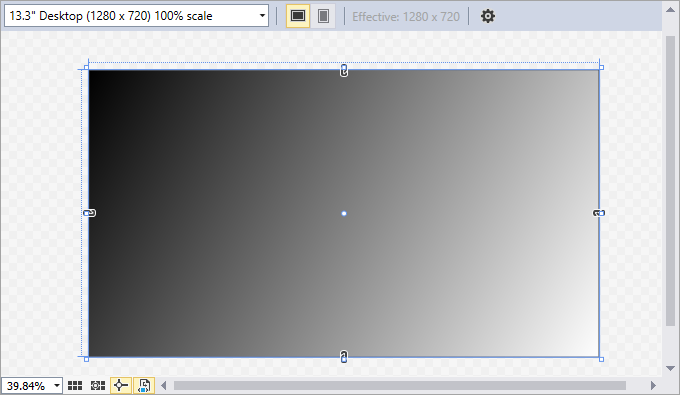
    This adds a black and white linear gradient fill to the rectangle. The design view of the page should now appear similar to the following image. 


    With this, you have successfully created a UWP application, added a standard Rectangle control to it and customized its appearance. In the next step, you will add and customize C1ColorPicker control to your application.

    See Also