This section demonstrates how to create a generic client application, which makes a call to a RESTful Web API service. Web API Edition services based on REST can be consumed by client applications built on various platforms. You can call Web API service through this client application for generating and merging excel files, or generating barcode. For more information on how to work with C1 Web API services, see Services topic.
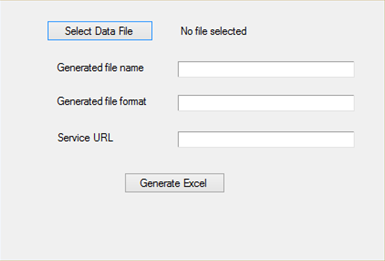
The examples in the following sections use HTML and WinForms applications to call the REST API services. Therefore, we will create these two applications in this section.
Let us consider, that the client applications built in this section will send a POST request to the endpoint (server) for generating excel files, and the clients that will send a GET request can be created on similar lines.
Complete the following steps to create the client application and add input controls in it.
| C# |
Copy Code
|
|---|---|
using System; using System.Diagnostics; using System.IO; using System.Net.Http; using System.ComponentModel; using System.Windows.Forms; |
|
| HTML |
Copy Code
|
|---|---|
<!DOCTYPE HTML> <html xmlns="http://www.w3.org/1999/xhtml"> <head> </head> <body> </body> </HTML> |
|
| HTML |
Copy Code
|
|---|---|
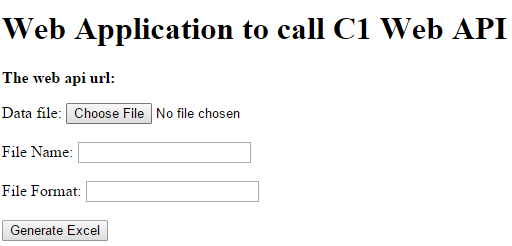
<h1>Web Application to call C1 Web API</h1> <p><b>The web api url: </b></p> <form> <label for="dataFile">Data file:</label> <input type="file" id="dataFile" name="dataFile" accept=""/> <br /><br /> <label for="fileName">File Name:</label> <input type="text" id="fileName" name="fileName" value=""/> <br /><br /> <label for="fileFormat">File Format:</label> <input type="text" id="fileFormat" name="type" value=""/> <br /><br /> <input type="submit" value="Generate Excel"/> </form> |
|