C1Dialog can also be used to confirm user actions, such as emptying the recycle bin. You will create a Confirm Dialog window in this topic.
Complete the following steps:
<asp:Content> tags and insert the following script after the runat="server" property:
To write code in Source View
<script type="text/javascript">
        function delClick() {
            $(this).c1dialog("close");
        }
        function cancelClick() {
            $(this).c1dialog("close");
        }
    </script>
</asp:Content>
<cc1:C1Dialog> tag. Insert the following markup after the runat="server" property:
To write code in Source View
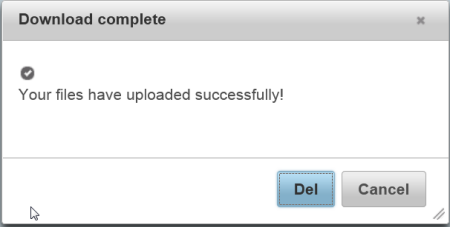
<cc1:C1Dialog ID="C1Dialog1" runat="server" Width="400" Height="200" Title="Download complete"
        Modal="True" CloseText="Close">
        <Content>
            <p>
                <span class="ui-icon ui-icon-circle-check"></span>Your files have uploaded successfully!
            </p>
        </Content>
        <ExpandingAnimation Duration="400" />
        <CollapsingAnimation Duration="300" />
        <Buttons>
            <cc1:DialogButton onclientclick="delClick" text="Del" />
            <cc1:DialogButton onclientclick="cancelClick" text="Cancel" />
        </Buttons>
        <CaptionButtons>
            <Pin Visible="false" />
            <Refresh Visible="False" />
            <Toggle Visible="False" />
            <Minimize Visible="False" />
            <Maximize Visible="False" />
        </CaptionButtons>