Bootstrap for ASP.NET Web Forms Quick Start
In This Topic
In Visual Studio 2013, Microsoft introduced new project templates using Bootstrap theme framework. ASP.NET Web Forms Edition now provides official Bootstrap support.
To integrate Bootstrap with the ASP.NET Web Forms Edition controls, Follow these steps:
- Select the File menu. From the File menu, select New | Project from the list.
- In the New Project dialog box, select one of the languages from the Templates in the left-hand pane.
- Select Web from the list of Templates.
- In the center pane, select ASP.NET Web Application.
- Enter a name for your application and click OK.
- In the New ASP.NET Project dialog box, select Web Forms from the available templates and then select Create Project.
- Double-click the Default.aspx file to open it.
Do not add the bootstrap.css in Bundle.config, as it is already included in the C1 assembly (DLL).
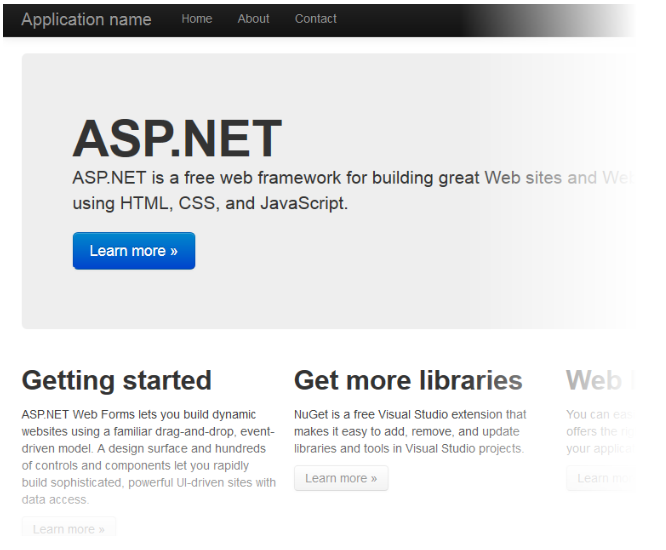
- Since Bootstrap is included in the templates already, you can run your application to see what it looks like by default. Press F5 or start debugging to run your application:
- Stop debugging and switch to Design View.
- Locate the C1Calendar control in your Visual Studio ToolBox. Drag the control onto your design surface to add it to your application.
- Select the control and click the smart tag to open the C1Calendar Tasks menu.
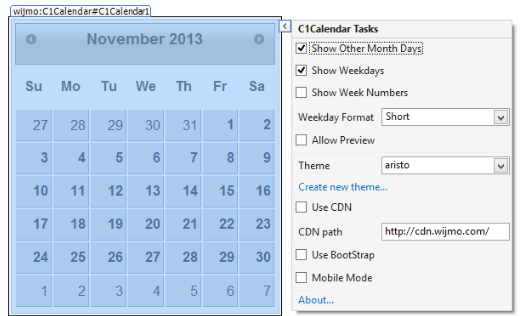
- Select the Use BootStrap option to integrate Bootstrap into your application. It's that easy!
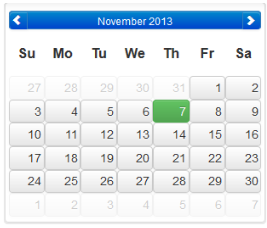
- Press F5 or start debugging to run your application. The C1Calendar should appear as in the following image:
Congratulations! You've completed the Bootstrap for ASP.NET Web Forms Quick Start. In this topic, you created a new Visual Studio ASP.NET Web Form application, added a ASP.NET Web Forms Edition control to the application, and added Bootstrap theming.