The following example demonstrates how to set the date format pattern for the C1InputDate control.
To set the date format pattern using the Tasks menu:
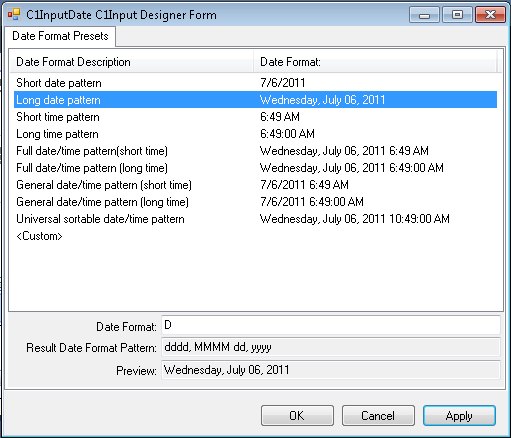
To set the date format pattern using .html markup:
To display the Long date pattern format for the Date Format value, use the following markup in the .aspx page:
To write code in Source View
<cc1:C1InputDate ID="C1InputDate1" runat="server"
    Date="2006-12-19"
    DateFormat="D">
</cc1:C1InputDate>
To set the date format pattern using code:
To set the date format pattern for the C1InputDate control, double-click the Web page to create an event handler for the Load event. Enter the following code for the Page_Load event:
To write code in Visual Basic
| Visual Basic |
Copy Code
|
|---|---|
' Format the control as long date pattern Me.C1InputDate1.DateFormat = "D" ' Set the date Me.C1InputDate1.Date = "2006-12-19" |
|
To write code in C#
| C# |
Copy Code
|
|---|---|
// Format the control as long date pattern
this.C1InputDate1.DateFormat = "D";
// Set the date
this.C1InputDate1.Date = DateTime.Parse("2006-12-19");
|
|
This topic illustrates the following:
Run the project and notice the date format pattern has been updated.
![]()