In this quick start guide, you will explore the functionality of the C1Pager control. You will create two pager controls and handle each of their PageIndexChanged events so that selecting a page index on one pager control will change the page index on the other control.
Complete the following steps:
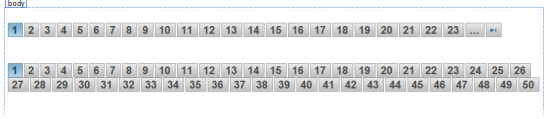
At this point, your project should appear similar to the following image:
In the Properties window, select C1Pager1 and click its Events button. Double-click PageIndexChanged to add the Pager1_PageIndexChanged event handler to Code view, and then add the following code to the event handler:
To write code in Visual Basic
| Visual Basic |
Copy Code
|
|---|---|
C1Pager2.PageIndex = C1Pager1.PageIndex |
|
To write code in C#
| C# |
Copy Code
|
|---|---|
C1Pager2.PageIndex = C1Pager1.PageIndex; |
|
Repeat the previous step with C1Pager2, but and then add the following code to the Pager2_PageIndexChanged event handler:
To write code in Visual Basic
| Visual Basic |
Copy Code
|
|---|---|
C1Pager1.PageIndex = C1Pager2.PageIndex |
|
To write code in C#
| C# |
Copy Code
|
|---|---|
C1Pager1.PageIndex = C1Pager2.PageIndex; |
|
In Design view, click C1Pager1's smart tag to open the C1Pager Tasks menu. From the Theme List, select midnight.
Both C1Pager controls switch to the midnight theme. If you were to add any other ASP.NET Web Forms controls to the page, they too would adopt the midnight theme.
Press F5 to launch the Web site. At run time, the project will appear as follows:
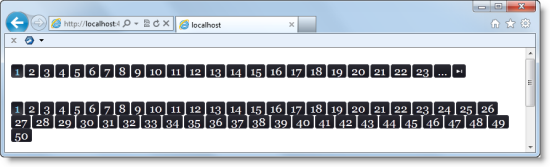
On the top pager, click 10. Observe that both pagers switch to 10.

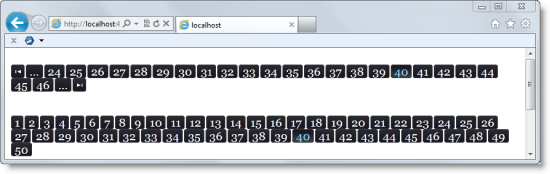
On the bottom pager, click 40. Observe that both pagers switch to 40. Also note that the top pager changed; whereas before it showed only an ellipses button and a 'last' button on the right side, now it also displays an ellipses button and a 'first' button on its left side.
Congratulations you have completed the Pager for ASP.NET Web Forms quick start!