In this step you will add content to the C1Wizard control. Adding content to the control is as simple as clicking in the control's body and typing text or adding controls from the Toolbox. Complete the steps outlined in the Step 2 of 3: Working with the C1Wizard Designer Form to add three steps to the C1Wizard control before completing the following.
Complete the following steps:
The text content is added to the first page of the C1Wizard control.
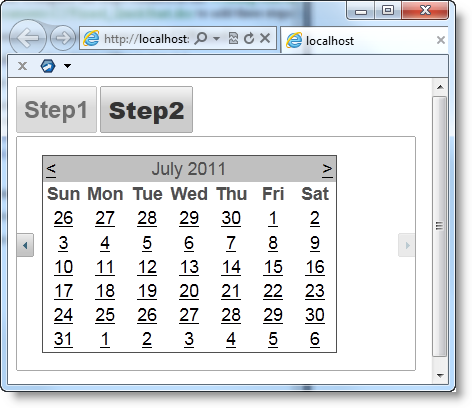
Switch to Source view to observe the structure of the C1Wizard control, and add the following <asp:Calendar> tag within the <cc1:C1WizardStep>tag for the second step so it appears as follows:
<cc1:C1WizardStepID="C1WizardStep03" runat="server">
     <asp:Calendar ID="Calendar1" runat="server"></asp:Calendar>
</cc1:C1WizardStep>
This adds a Calendar control to the second page of the wizard.
Press F5 to run the application and observe that the wizard control appears with the first step in focus:

Click the right arrow and observe that the second step comes into focus: