In This Topic
This topic uses "Gutter" report to demonstrate how to create gutter margins in a report.
Gutter margins are extra space/margins added to a page layout required for binding. They make it easier to bind the pages into folders, brochures, etc. You can add a gutter margin to a report by adding the left margin on the pages, which changes on the basis of the currently displayed page. The gutter margin can be changed depending upon the type of binding you select.
In this report, the value of Layout.MarginLeft property is changed on the basis current page number which creates a gutter margin where odd pages have a larger left margin. Perform the following steps to see how this can be done.
To create a report with gutter margin
- Open the C1FlexReportDesigner and go to FILE|New.
- Click New Report drop down from the Reports tab and select Empty Report to create a report.
Back to Top
- Switch to the Data tab, right-click the Main data source and choose Edit to open and the Data Sources Wizard and start editing.
- Select OLEDB Data Provider from the Data provider drop-down and click the ellipsis button next to the Connection string textbox to select the C1NWind.mdb file.
- Specify the following Sql statement in the Sql statement tab:
SELECT Categories.*, Products.*
FROM Categories INNER JOIN Products
ON Categories.CategoryID = Products.CategoryID
Back to Top
- Click Groups in Home tab and add a group named CategoryName.
- In the Groups wizard, set the following properties for the CategoryName group:
| Property |
Value |
| GroupBy |
CategoryName |
| Keep Together |
KeepFirstDetail |
| Sort |
Ascending |
| ShowGroupFooter |
False |
| ShowGroupHeader |
True |
| OutlineLabel |
=CategoryName |
- Click OK to close the Groups wizard.
- Right-Click the GroupHeader and select Add SubSection from the context menu to divide the header into two parts.
- In GroupHeader0/ <A>, add a TextField and set its text property to =CategoryName.
- In GroupHeader0/ <B>, add four TextFields and set the following properties:
| Property |
Value |
| TextBox2.Text |
Product Name |
| TextBox3.Text |
Quantity Per Unit |
| TextBox4.Text |
Unit Price |
| TextBox5.Text |
In Stock |
- In the Details section, add four TextFields corresponding to the TextFields in GroupHeader0/ <B>, and set the following properties:
| Property |
Value |
| TextField6.Text |
=ProductName |
| TextField7.Text |
=QuantityPerUnit |
| TextField8.Text |
=UnitPrice |
| TextField9.Text |
=UnitsInStock |
- Select the report name from the drop-down situated above the list of properties in the Properties window.
- Navigate to the OnClose property and click the ellipsis button next to it. The VBScript Editor appears. Enter the following VBScript expression in the editor to create gutter margin when the report finishes rendering:
report.layout.marginleft = gutter
- Go to the report's OnOpen property and then click the ellipsis button. The VBScript Editor appears. Enter the following VBScript expression in the editor to create gutter margin when the report starts rendering:
gutter = report.layout.marginleft
- Go to the report's OnPage property and then click the ellipsis button. The VBScript Editor appears. Enter the following VBScript expression in the editor set the report margin when a new page is created:
report.layout.marginleft = _
iif(page mod 2 = 1, 2880, 1440)
Back to Top
Preview the report.
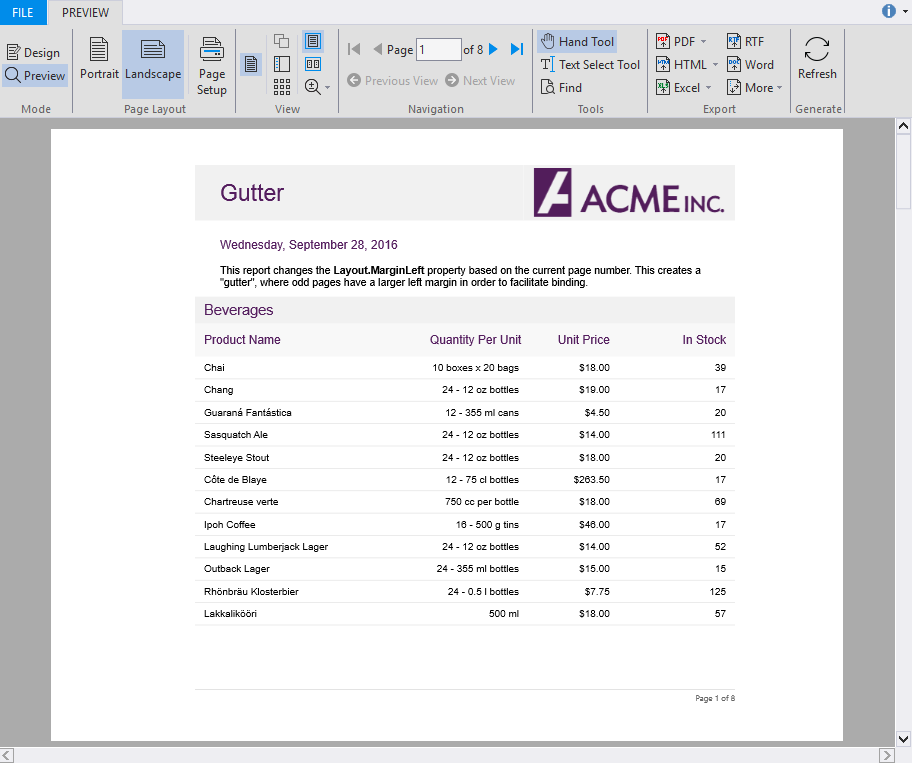
Note: For the complete report, see report 'Gutter' in the FlexCommonTasks.flxr report definition file, which is available in the ComponentOne Samples\Winforms\C1FlexReport\CS\FlexCommonTasks folder. The data base used is C1NWind.mdb which is also available in the ComponentOne Samples folder.