In This Topic
In this example, we'll add tick labels to the tick marks on our gauge.
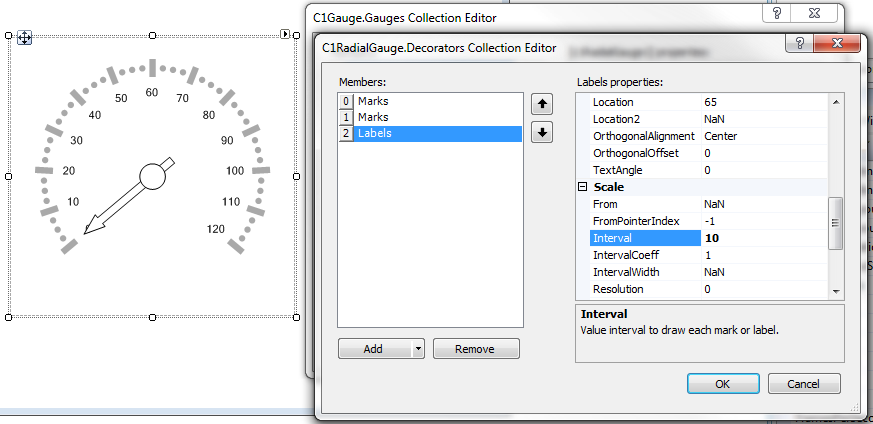
- Click the ellipsis button next to the Gauges property in the Properties window. The C1Gauge.Gauges Collection Editor dialog box opens.
- Click the ellipsis button next to Decorators. The Decorators Collection Editor opens.
- From the Decorators Collection Editor, drop-down the Add button and select C1GaugeLabels. These will be the numeric labels that display by each tick-mark.
- Set the Color property to DarkGray.
- Set the Interval property to 10. This will display a label at every 10th interval from our minimum to our maximum (specified by the minimum and maximum properties set at the gauge level).
- To customize when the labels start, we can override the minimum and maximum at the Labels level by setting the From and To properties. For example, let’s only display labels on values 20 and higher. Set the From property to 20. Notice the first two labels are gone.
- To rotate the labels, set the IsRotated property to True. Set the TextAngle property to further customize the rotation of these labels.
- Set the FontSize property to 10.
- Click OK to close the Decorators Collection Editor.
See Also