Select the C1Gauge control in your project and click the smart tag. Select Add New Gauge from the C1Gauge Tasks menu. The New Gauge Gallery dialog box appears, allowing you to pick and choose templates and template groups.
You can also access the New Gauge Gallery dialog box by selecting Add New Gauge from the C1Gauge Context Menu. The New Gauge Gallery dialog box appears similar to the following:
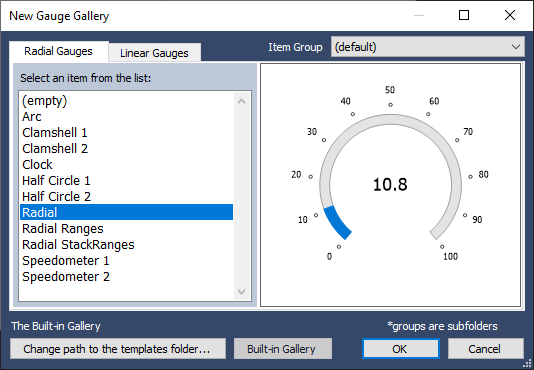
In this dialog box you can choose the initial appearance of your gauge from default or existing custom templates. The New Gauge Gallery dialog box operates as follows:
Select the Radial Gauges tab to select from available radial gauges. You can also choose the (empty) option to add an unformatted C1RadialGauge item.
Select the Linear Gauges tab to select from available horizontal and vertical linear gauges. You can also choose the (empty) option to add an unformatted C1LinearGauge item.
Open the Item Group drop-down box to choose a built-in template group. Choices include Advanced, OfficeBlack, OfficeBlue, OfficeSilver, and Windows 7. For more information, see the Gauges for WinForms Appearance topics.
Click the Change path to the templates folder button to navigate to a folder that contains custom template files. Once you choose a folder, templates in that folder will appear in the dialog box. You can return to the built-in templates by clicking the Built-in Gallery button.
Click the Built-in Gallery button to return to the built-in template options. This button is only selectable when you are currently viewing custom templates.
Click the OK button to save any changes or selections you have made and close the New Gauge Gallery dialog box. The gauge you added will then appear in the C1Gauge control.
Click the Cancel button to cancel any changes or selections you have made and close the New Gauge Gallery dialog box.