The InputPanel control provides an InputFlowPanel which arranges the controls within a form dynamically, at runtime. It is a layout manager which ensures that the components inside a form are not overlapped or misaligned while resizing and are laid perfectly in a horizontal or vertical manner.
The below gif shows a car catalogue form created by using an InputFlowPanel inside an InputPanel control. As can be observed, the form contents are changed dynamically when the form resize action is performed.
The following section describes how to add InputFlowPanel to a Windows form in .NET 4.5.2 and .NET 5 applications.
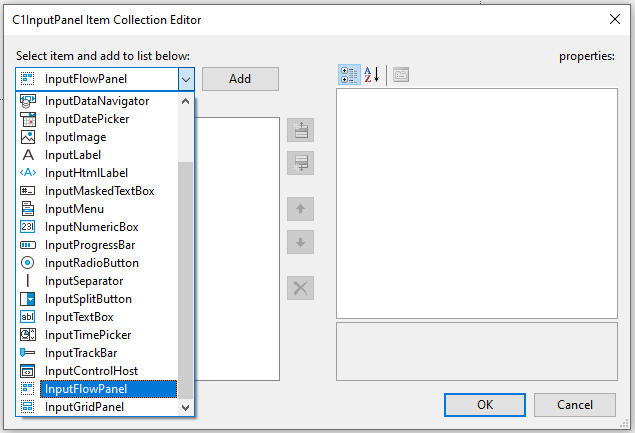
You can add the InputFlowPanel layout to a Windows form by using the collection editor of C1InputPanel. The C1InputPanel Item Collection Editor can be launched by selecting the C1InputPanel on the Form and then clicking the ellipsis next to Items in the Properties window.
Note: Alternatively, you can also add InputFlowPanel layout using the glyph feature in InputPanel designer, which when clicked opens a toolbox of components to be added to the panel.
So, you can add components to the InputPanel at design time using the glyph feature. You can drag and drop flow panel within the grid panel, and vice-versa. Learn more about this feature in the Design-Time support.
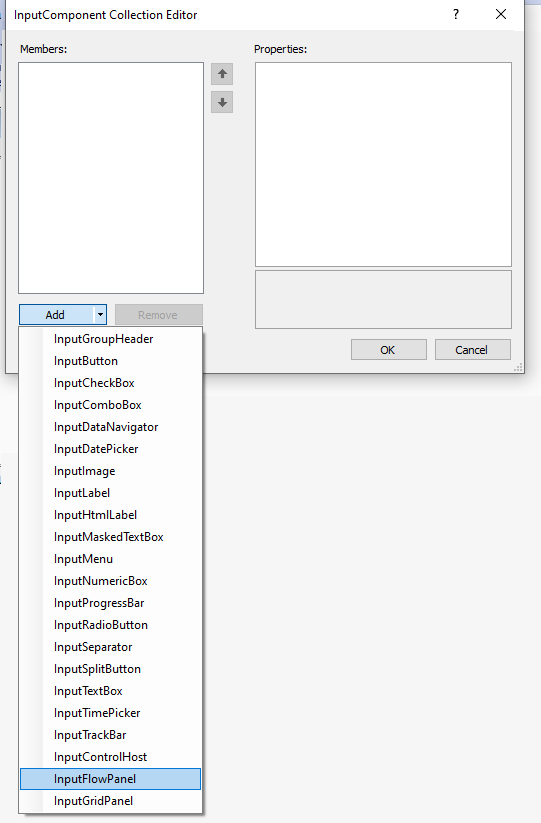
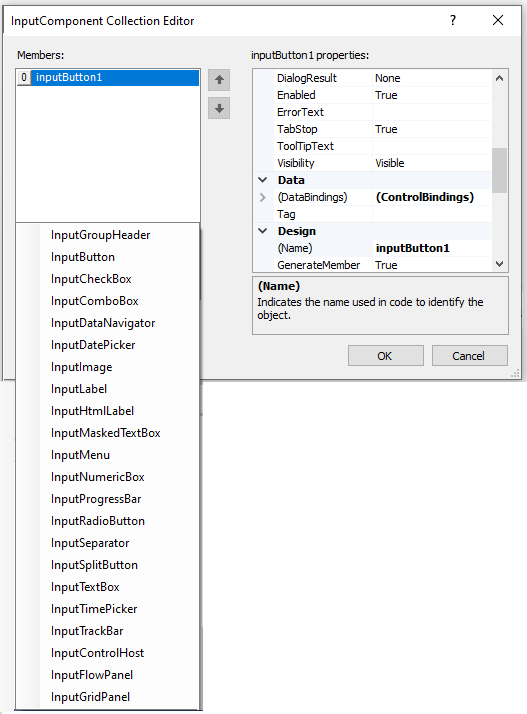
You can add the InputFlowPanel layout to a Windows form by using the collection editor of C1InputPanel. The InputComponent Collection Editor can be launched by selecting the C1InputPanel on the Form and then clicking the ellipsis next to Items in the Properties window.
The following section describes how to add items in InputFlowPanel layout in .NET 4.5.2 and .NET 5 applications.
You can add, remove or edit items in the InputFlowPanel layout by using the collection editor at design-time. The InputFlowPanel panel Item Collection Editor can be launched by selecting the InputFlowPanel layout on the Form and then clicking the ellipsis next to Items in the Properties window.
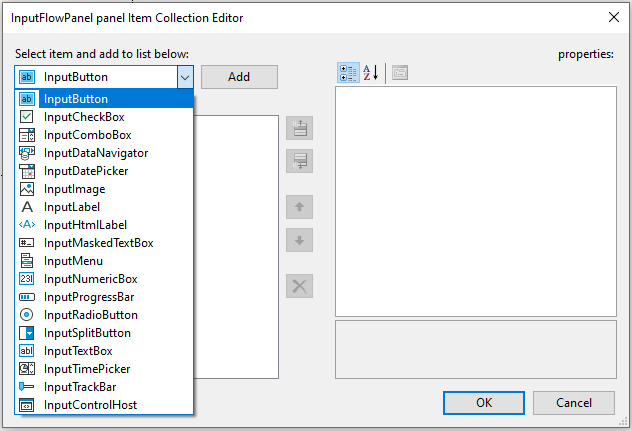
You can add, remove or edit items in the InputFlowPanel layout by using the collection editor at design-time. The InputComponent Collection Editor can be launched by selecting the InputFlowPanel layout on the Form and then clicking the ellipsis next to Items in the Properties window.
The InputFlowPanel component provides the ChildSpacing property to determine the spacing between child items within the FlowPanel.
By default, the elements of the components added to a InputPanel control are arranged very close to each other, and the ChildSpacing is set to 1,1. You can specify Height and Width in ChildSpacing property of the C1InputPanel class to give vertical and horizontal space between the child elements. Once the ChildSpacing property is set, all components added to the page conform to that setting, hence giving you a uniform spacing scheme for your panel.
Let's see how to configure child spacing via code in FlowPanel layout using the ChildSpacing property and the Size method:
| C# |
Copy Code
|
|---|---|
// set child spacing to 15,15 inputFlowPanel.ChildSpacing = new System.Drawing.Size(15, 15); |
|
Now, that you have added different components to the FlowPanel, you can also data-bind each component with the required data. This can be done via data-source at design time or programmatically. To learn more about binding InputPanel with data, refer the DataBinding topic.