In This Topic
This topic demonstrates how to create a table footer that is divided into two columns. The following key points are shown in this topic:
- Adding a footer to a table with multiple rows and columns in C1PrintDocument.
- Setting up the table footer at the end of each page. The Count property of the TableVectorCollection class is used to insert the footer at the end of the table on each page.
- Setting up the row and column spans for each section of the page footer.
The SpanRows and SpanCols properties of the TableCell class are used to specify the row and column spans.
- Setting up the text alignment in each section of the page footer. The TextAlignHorz and TextAlignVert properties of the Style class are used to specify the horizontal and vertical alignment of the text.
You can assign a member (left, right, justify, or center) of the AlignHorzEnum to the TextAlignHorz property or a member (bottom, center, justify, or top) of the AlignVertEnum to the TextAlignVert property.
Note: The sample code fragments in this topic assume that the "using C1.C1Preview;" directive (in C# syntax; or an equivalent for other languages) has been inserted into the file, so that instead of fully qualified type names (such as C1.C1Preview.RenderText) we can use just the class name part (RenderText).
Complete the following steps to create a table footer with two parts:
- Create a new Windows Forms application.
- From the Toolbox, add a C1PrintPreview control onto your form. Add a C1PrintDocument component onto your form, it will appear in the components' tray below the form. The preview will have the default name C1PrintPreview1, the document C1PrintDocument1.
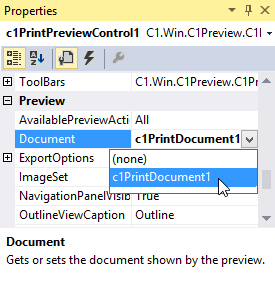
- Set the value of the Document property of C1PrintPreview1 control to C1PrintDocument1, so that the preview will show the document when the application runs.
- Double click the form to switch to code view and create a handler for the Form_Load event. In the Form_Load event, we will set up our document.
- Add the following code to the Form_Load event to create a RenderTable for the page footer and add a table with 4 columns, 100 rows, and sample text:
- Add the following code to set the font type to Arial, 10 points and the background color to lemon chiffon:
Here we reserved the last two rows of the page for the footer using the Count property and grouped the rows together using the RowGroups property. We then assigned a new font style for the text and a new background color for the cells in our page footer.
- Next, we'll use the TextAlignHorz and TextAlignVert properties to set the alignment of the text in each column of the page footer. We'll span the footer over the last two rows and create two columns using the SpanRows and SpanCols properties. We will draw the text into each column of the table for the page footer. Finish by using the Generate method to create the document.
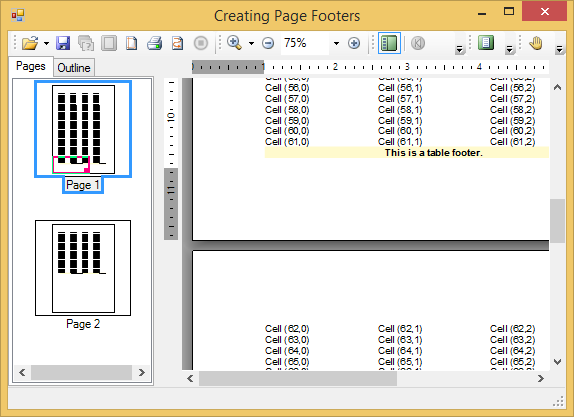
Run the program and observe the following:
Your new page footer with two parts should appear to the footer below: