In This Topic
This quick start gets you started with PrintDocument by letting you create a WinForms application, add printing and previewing controls to it, set up the preview and explore some of the run-time interactions available in the previewing controls.

To quickly get started using the library, follow these steps:
Add PrintDocument and PrintPreview
- Create a Windows Forms App in Visual Studio.
- Add reference to C1.Win.Printing NuGet package.
- Drag and drop the PrintPreviewControl from Toolbox to the form. The PrintPreviewControl control is a composite control containing a preview pane, navigation and text search panels, and toolbars with predefined buttons.
- Drag and drop the PrintDocument component from the Toolbox to your form. You can observe that PrintDocument gets added to the component tray.
Configure the form and controls
- Right-click the form and navigate to the Properties window, and set the Size.Width property to 600 pixels and the Size.Height property to 400 pixels to accommodate the size of the PrintDocument component.
- Click PrintPreviewControl's smart tag to open the PrintPreviewControl's Tasks menu and select Dock in Parent Container.
- Click PrintPreviewControl to select it and in the Properties window set its Document property to the newly added PrintDocument component. The selected document, here C1PrintDocument1, will show in the preview window at run time.
- Switch to the code view and add C1.Preview namespace:
| C# |
Copy Code
|
using C1.C1Preview;
|
- Add the following code to the Form_Load event to add text to the preview document and generate the document.
| C# |
Copy Code
|
private void Form1_Load(object sender, EventArgs e)
{
    this.c1PrintDocument1.Body.Children.Add(new RenderText("Hello, World!"));
    this.c1PrintDocument1.Generate();
}
|
Build and Run the Project
- Click Build | Build Solution to build the project.
- Press F5 to run the project.
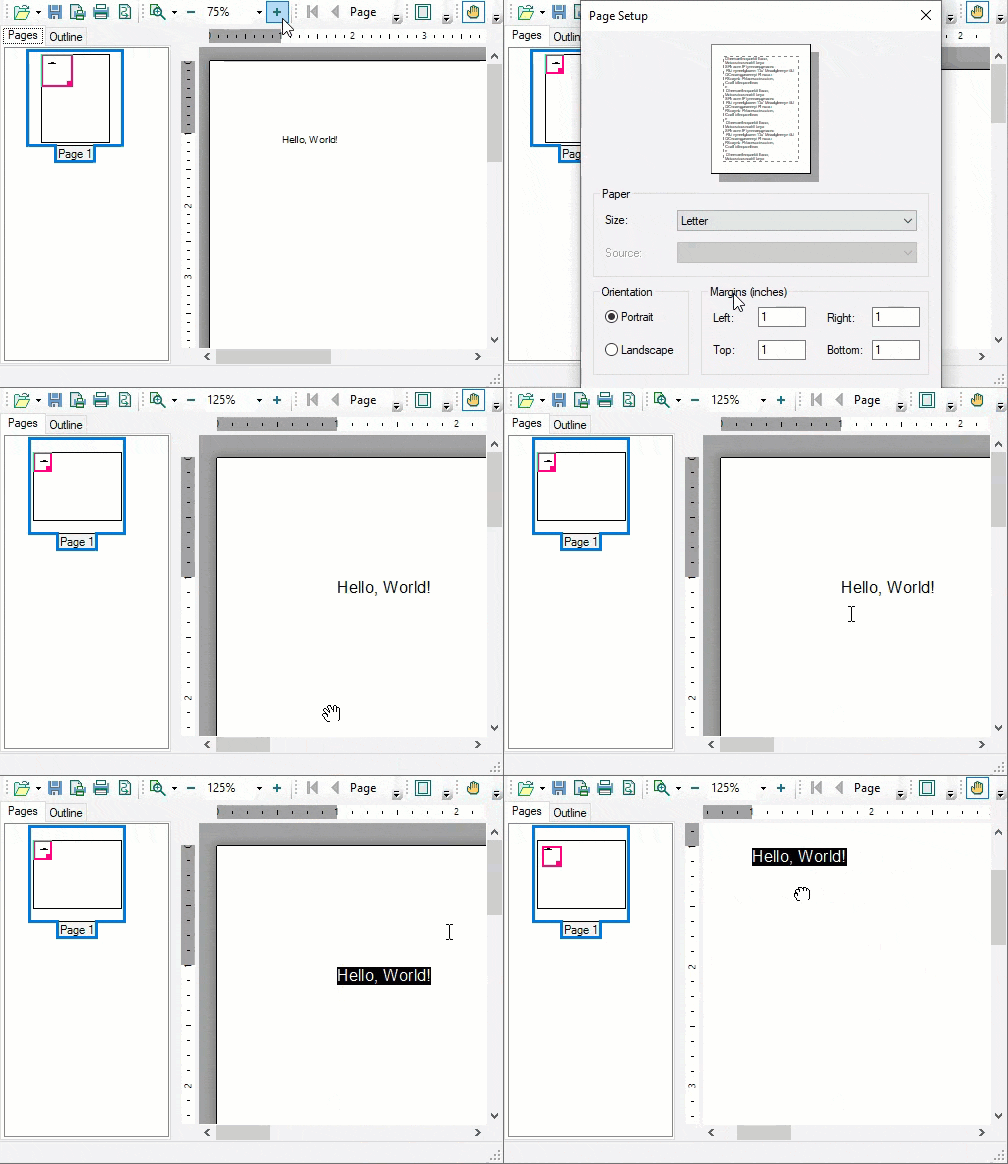
- Observe some of the run-time interactions with the previewing controls


