This topic demonstrates how to add two different images to specific cells in an existing table by using the RenderImage class. It also shows how to align images in cells using the ImageAlignHorzEnum. Note that the sample below uses the empty 3 by 3 table which was built in Creating a Table with Three Columns and Rows and that you'll need to have two GIF or JPEG images on hand to complete the steps in this topic. Complete the following steps:
To write code in Visual Basic
| Visual Basic |
Copy Code
|
|---|---|
Private Sub Form1_Load(ByVal sender As System.Object, ByVal e As System.EventArgs) Handles MyBase.Load

    ' Make a table.
    Dim table As C1.C1Preview.RenderTable = New C1.C1Preview.RenderTable(Me.C1PrintDocument1)
    table.Style.GridLines.All = New C1.C1Preview.LineDef(Color.DarkGray)

    Dim r As Integer = 3
    Dim c As Integer = 3
    Dim row As Integer
    Dim col As Integer
    For row = 0 To r - 1 Step +1
        For col = 0 To c - 1 Step +1
            Dim celltext As C1.C1Preview.RenderText = New C1.C1Preview.RenderText(Me.C1PrintDocument1)

            ' Add empty cells.
            celltext.Text = String.Format("", row, col)
            table.Cells(row, col).RenderObject = celltext
        Next
    Next

    ' Generate the document.
    Me.C1PrintDocument1.Body.Children.Add(table)
    Me.C1PrintDocument1.Generate()
End Sub
|
|
To write code in C#
| C# |
Copy Code
|
|---|---|
private void Form1_Load(object sender, System.EventArgs e)
{
    // Make a table.
    C1.C1Preview.RenderTable table = new C1.C1Preview.RenderTable(this.c1PrintDocument1);
    table.Style.GridLines.All = new C1.C1Preview.LineDef(Color.DarkGray);

    const int r = 3;
    const int c = 3;
    for (int row = 0; row < r; ++row)
    {
        for (int col = 0; col < c; ++col)
        {
            C1.C1Preview.RenderText celltext = new C1.C1Preview.RenderText(this.c1PrintDocument1);
            celltext.Text = string.Format("", row, col);

            // Add empty cells.
            table.Cells[row, col].RenderObject = celltext;
        }
    }

    // Generate the document.
    this.c1PrintDocument1.Body.Children.Add(table);
    this.c1PrintDocument1.Generate();
}
|
|
To write code in Visual Basic
| Visual Basic |
Copy Code
|
|---|---|
' Fix the center cell's size. table.Rows(1).Height = New C1.C1Preview.Unit(5, C1.C1Preview.UnitTypeEnum.Cm) table.Cols(1).Width = New C1.C1Preview.Unit(8, C1.C1Preview.UnitTypeEnum.Cm) |
|
To write code in C#
| C# |
Copy Code
|
|---|---|
// Fix the center cell's size. table.Rows[1].Height = new C1.C1Preview.Unit(5, C1.C1Preview.UnitTypeEnum.Cm); table.Cols[1].Width = new C1.C1Preview.Unit(8, C1.C1Preview.UnitTypeEnum.Cm); |
|
To write code in Visual Basic
| Visual Basic |
Copy Code
|
|---|---|
' Set up image alignment. table.CellStyle.ImageAlign.StretchHorz = False table.CellStyle.ImageAlign.StretchVert = False table.CellStyle.ImageAlign.AlignHorz = C1.C1Preview.ImageAlignHorzEnum.Center |
|
To write code in C#
| C# |
Copy Code
|
|---|---|
// Set up image alignment. table.CellStyle.ImageAlign.StretchHorz = false; table.CellStyle.ImageAlign.StretchVert = false; table.CellStyle.ImageAlign.AlignHorz = C1.C1Preview.ImageAlignHorzEnum.Center; |
|
To write code in Visual Basic
| Visual Basic |
Copy Code
|
|---|---|
Dim img1 As C1.C1Preview.RenderImage = New C1.C1Preview.RenderImage(Me.C1PrintDocument1) Dim img2 As C1.C1Preview.RenderImage = New C1.C1Preview.RenderImage(Me.C1PrintDocument1) |
|
To write code in C#
| C# |
Copy Code
|
|---|---|
C1.C1Preview.RenderImage img1 = new C1.C1Preview.RenderImage(this.c1PrintDocument1); C1.C1Preview.RenderImage img2 = new C1.C1Preview.RenderImage(this.c1PrintDocument1); |
|
To write code in Visual Basic
| Visual Basic |
Copy Code
|
|---|---|
img1.Image = Me.PictureBox1.Image img2.Image = Me.PictureBox2.Image |
|
To write code in C#
| C# |
Copy Code
|
|---|---|
img1.Image = this.pictureBox1.Image; img2.Image = this.pictureBox2.Image; |
|
To write code in Visual Basic
| Visual Basic |
Copy Code
|
|---|---|
table.Cells(1, 1).RenderObject = img1 table.Cells(1, 2).RenderObject = img2 |
|
To write code in C#
| C# |
Copy Code
|
|---|---|
table.Cells[1, 1].RenderObject = img1; table.Cells[1, 2].RenderObject = img2; |
|
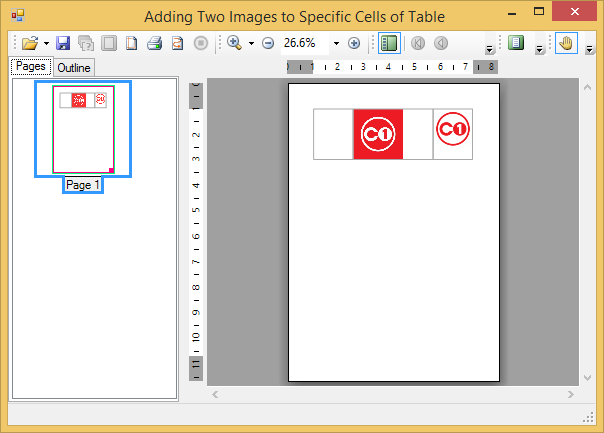
Your table should look similar to the table below: