Step 2 of 4: Modifying the Report
In This Topic
With the Designer in preview mode you cannot make any adjustments to the report.
- Click the Design button to switch to Design mode and begin making modifications.
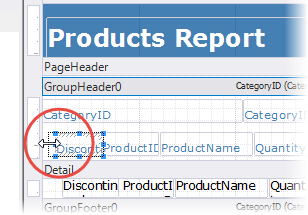
- After selecting the Design button, the right pane of the main window switches from Preview mode to Design mode, and it shows the controls and fields that make up the report.
Modify the Report:
For this example, we will resize the Group Header section and fields as well as format a field value. To do this, complete the following steps:
- To resize the Group Header section, select its border and with your mouse pointer drag to the position where you want it.
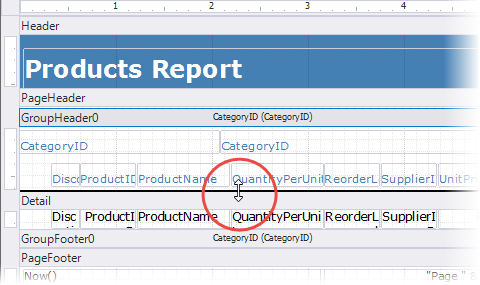
- With your mouse pointer, drag field corners to resize fields.
Tip: If text is not fitting in the field, set the Appearance.WordWrap property for the field to True in the Properties window.
- In the Properties window, select the UnitPriceCtl field in Detail section under the Unit Price column.
- Set the Appearance.Format property for the field to Currency.

- Click the Preview button to switch to Preview mode and see your modifications.
- Click Design button to switch from Preview mode to Design mode.
- Click the File menu and select Save As from the menu that appears.
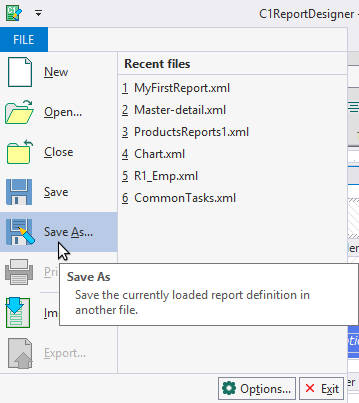
- In the Save Report Definition File dialog box, enter ProductsReport.xml in the File name box. Save the file to a location that you will remember for later use.
- Close the Designer and return to your Visual Studio project.
You have successfully created a report definition file; in the next step you will load the report in the C1Report component.