Reports for WinForms | ComponentOne
Getting Started with Reports for WinForms / Getting Started with Printing and Previewing / C1PrintDocument Quick Start / Step 2 of 4: Setting Up the Form and Controls
In This Topic
    Step 2 of 4: Setting Up the Form and Controls
    In This Topic

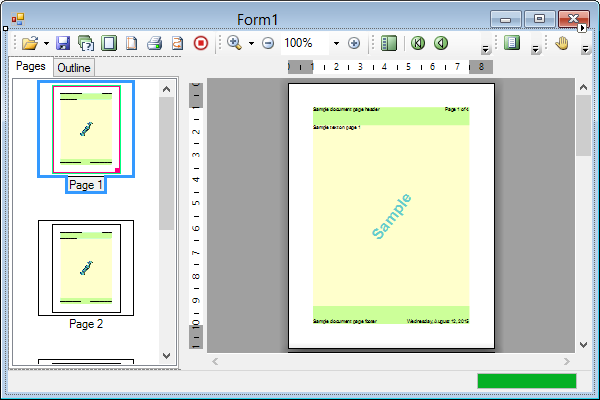
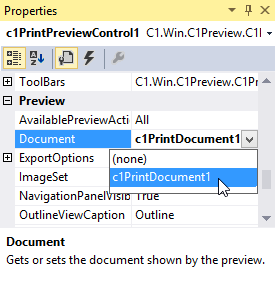
    Now that you've added the Reports for WinForms controls to the form, you'll set up the form and the controls. Complete the following steps:

    1. Right-click Form1 to select it and select Properties; in the Properties window set the Size.Width property to 600 pixels and the Size.Height property to 400 pixels to accommodate the size of the C1PrintDocument.

    2. Click C1PrintPreviewControl1's smart tag to open the C1PrintPreviewControl Tasks menu and select Dock in parent container.
             
      The form designer should now look similar to the following:
             
    3. Click C1PrintPreviewControl1 to select it and in the Properties window set its Document property to the newly added C1PrintDocument1 (which appears in the Document property drop-down list).
             
      The selected document, here C1PrintDocument1, will show in the preview window at run time.

    You've set up the forms and controls and completed step 2 of the printing and previewing quick start guide. In the next step you'll add code to the project.