Once the report definition has been created, a data source defined, and loaded into the C1Report component, you can render the report to the printer, into preview controls, or to report files.
To preview the report, use the use the C1Report.Document property. Assign it to the Document property in the C1PrintPreviewControl or to the .NET PrintPreview or PrintPreviewDialog controls and the preview controls will display the report and allow the user to browse, zoom, or print it.
To write code in Visual Basic
| Visual Basic |
Copy Code
|
|---|---|
' load report definition
C1Report1.Load("C:\ProductsReport.xml", "Products Report")
' preview the document
C1PrintPreviewControl1.Document = C1Report1.Document
|
|
To write code in C#
| C# |
Copy Code
|
|---|---|
// load report definition c1Report1.Load(@"C:\ProductsReport.xml", "Products Report"); // preview the document c1PrintPreviewControl1.Document = c1Report1.Document; |
|
You will need to change the directory above to the location the ProductsReport.xml file is saved.
Note that the C1Report.Load(String, String) method has the following parameters:
Click the Start Debugging button to run the application. The report renders in the preview control:
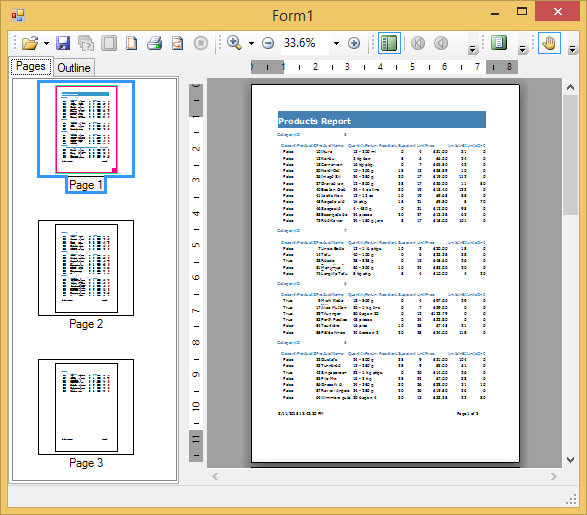
Congratulations! You just created a simple report definition, modified the report, loaded into the C1Report component, and rendered the report into a preview control. Read the following section to learn how you can further customize your report definition using VBScript expressions.