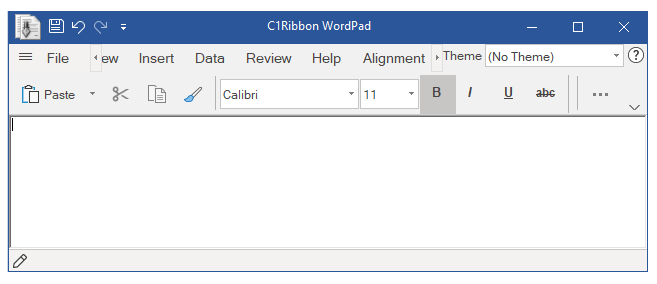
A user can upgrade from classic Ribbon to the new Ribbon without any hassles. The image below depicts the appearance of the old Ribbon control at runtime.
This section covers the steps required to upgrade the old ribbon control to new Ribbon control:
Make a reserve copy of your old project. You might need it during conversion if something doesn’t get right.
Remove the C1.Win.C1Ribbon.4 assembly from References in the Solution Explorer, and add the C1.Win.Ribbon.4.8 assembly. Locate the licenses.licx file in your project and replace all the lines that refer to C1.Win.C1Ribbon.4 with C1.Win.Ribbon.4.8. Also, replace all C1.Win.C1Ribbon namespace with C1.Win.Ribbon.
Build the project. The user can observe that the designer has used IconSet property in place of Image, SmallImage and LargeImage properties. You can also see the error list with obsolete API. The changes have been made intentionally and indicate the following API changes:
this.c1Ribbon1.RibbonEvent += new RibbonEventHandler(c1Ribbon1_RibbonEvent);this.c1Ribbon1.RibbonEvent += c1Ribbon1_RibbonEvent;If you open your form with Ribbon in Visual Studio designer, then you can observe that the Image, SmallImage and LargeImage properties have changed to IconSet property. You can see that instead of image-related properties, code lines like these have appeared:
this.FontBoldButton.IconSet.Add(new C1.Framework.C1BitmapIcon("", new System.Drawing.Size(16, 16), System.Drawing.Color.Transparent, ((System.Drawing.Image)(resources.GetObject("FontBoldButton.IconSet")))));
Note that the new Ribbon has an updated set of embedded images. If you want to use them, you can replace the images for individual elements using the Smart Designer. You can replace all the old images from embedded preset with new ones. Not only do they look better, it is also useful while switching to a simplified view. For example, retaining the old IncreaseIndentButton image in the new ribbon may give it a blurry look in the simplified mode. Hence, it is preferred to replace all old images.

Run your application and make sure that all the functionalities are working as expected.
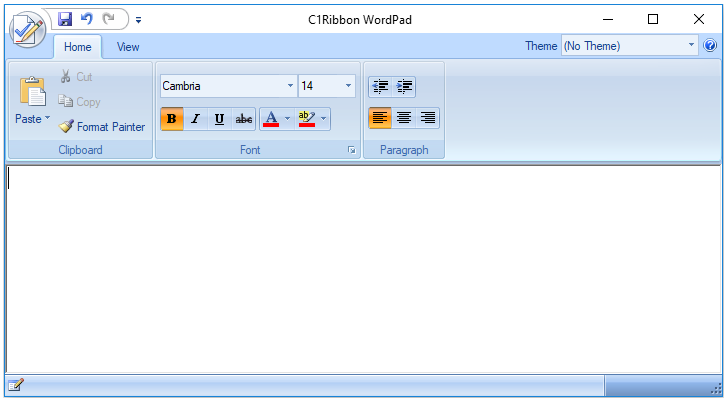
The upgraded Ribbon control now looks like this: