Assigning a resource can be done through code. The following code, added to the Form_Load event, creates a Digital Projector resource and assigns it to the appointment:
| C# |
Copy Code
|
|---|---|
// Add a new appointment. C1.C1Schedule.Appointment app; app = this.c1Schedule1.DataStorage.AppointmentStorage.Appointments.Add(); // Set some details for the appointment. app.Subject = "Meeting"; app.Location = "Large Conference Room"; app.Duration = TimeSpan.FromMinutes(45); app.Start = new DateTime(2007, 2, 28, 13, 30, 0); // Create the Digital Projector resource. C1.C1Schedule.ResourceCollection rescol; rescol = this.c1Schedule1.DataStorage.ResourceStorage.Resources; C1.C1Schedule.Resource roomres = new C1.C1Schedule.Resource(); roomres.Text = "Digital Projector"; // Insert the resource into the Master Resource List. rescol.Insert(0, roomres); // Assign the resource to the appointment. app.Resources.Add(roomres); |
|
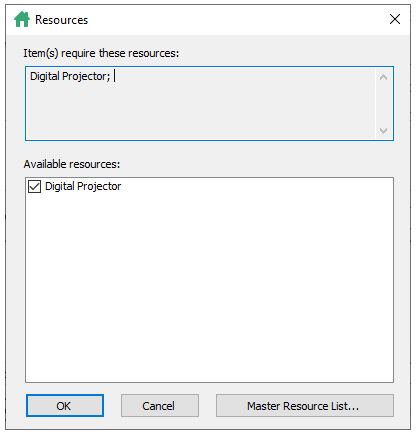
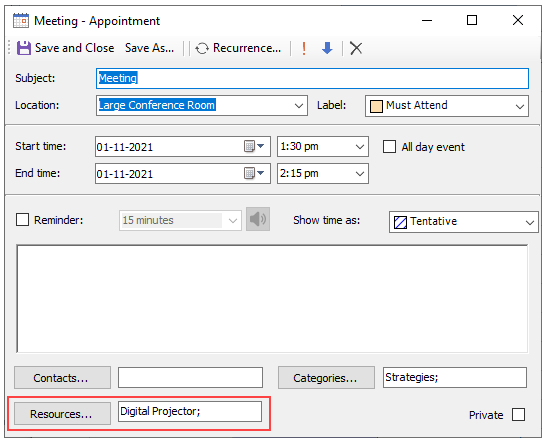
At run time, assigning a resource or resources to an appointment can be done through the Resources dialog box. Clicking the Resources button in the Appointment dialog box opens the Resources dialog box.
In the Resources dialog box, you can check the categories you would like to add to the appointment.