C1Schedule features a Smart Designer floating toolbar to enhance design-time interaction. Using the Smart Designer you can set properties directly on the form.

The Smart Designer's floating toolbar can be displayed by clicking the  button that appears in the upper left corner of the form.
The floating toolbar for the C1Schedule control consists of the following toolbar buttons:
| Button | Description |
|---|---|
 |
Default View: Select the default view. |
 |
Settings: Set the properties for the C1Schedule control. |
 |
Visual Style: Edit the appearance of the C1Schedule control. |
 |
Calendar Settings: Customize the calendar settings. |
 |
Data Source Settings: Set the mappings for the data source. |
 |
Localize: Localize the schedule. |
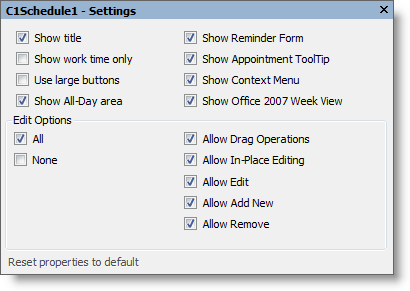
Clicking the Settings button opens the Settings dialog box where you can set properties for the C1Schedule control.
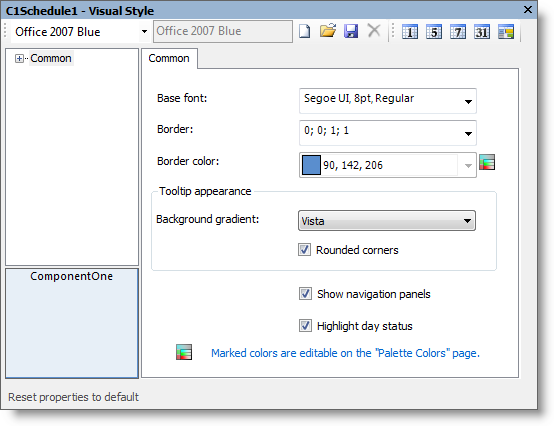
Clicking the Visual Style button opens the Visual Style dialog box where you can set layout properties and style options. For more information, see Customizing Scheduler for WinForms' Appearance.
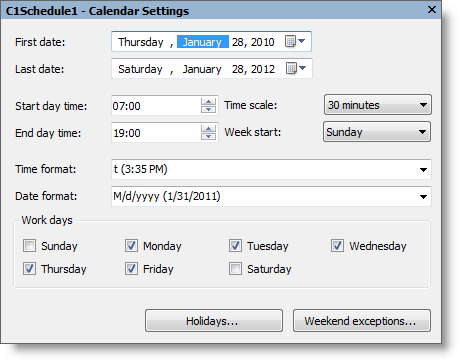
Clicking the Calendar Settings button opens the Calendar Settings dialog box where you can customize the settings for the calendar.
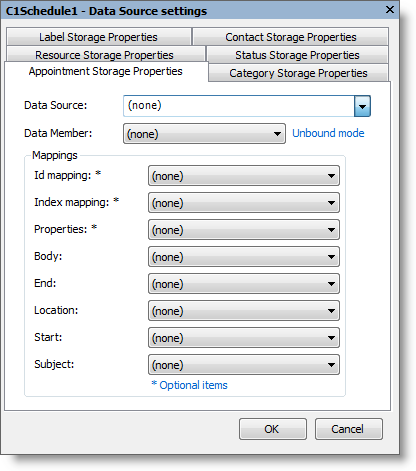
Clicking the Data Source Settings button opens the Data Source Settings dialog box where you can set the mappings for the data source. By default, the Data Member property is in Unbound mode.
Setting the data source to a bound data source changes the Data Member property to Bound mode. Mappings can be set similar to the image below. For more information on binding to a data source, see Binding to a Data Source.
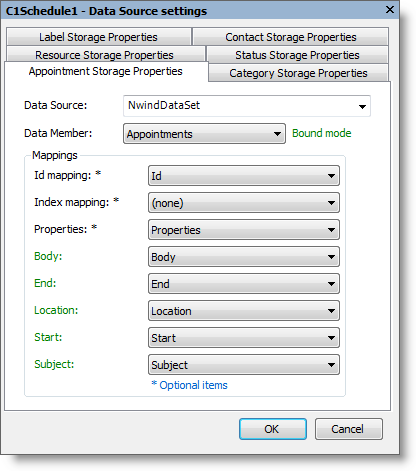
For more information about mapping bound data to a C1Schedule control, see Data Mappings.
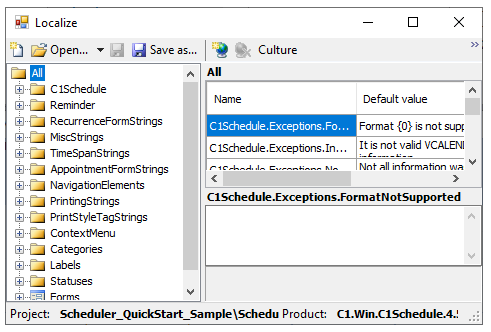
Clicking the Localize button opens the Localize dialog box where you customize your localization settings. For more information, see Localization.