In This Topic
You can also add multiple ToolTips to a project. You may want to do this if you are not formatting the ToolTips with your own HTML code and you want the appearance properties of the ToolTips to be different. You could also do this when you want the behavior properties of the ToolTips to be different, regardless of how you created them.
When you add more than one ToolTip, make sure you specify the correct ToolTip for the control with which you want it to be associated. If you specify multiple ToolTips for one control, all specified ToolTips appear when you run the project and mouse over the control.
- Suppose you have a project with two buttons on the form. Add two C1SuperTooltip controls.
- Select Button1 and click the ellipsis button next to the ToolTip on C1SuperTooltip1 property in the Properties window. The C1SuperTooltip Editor appears.
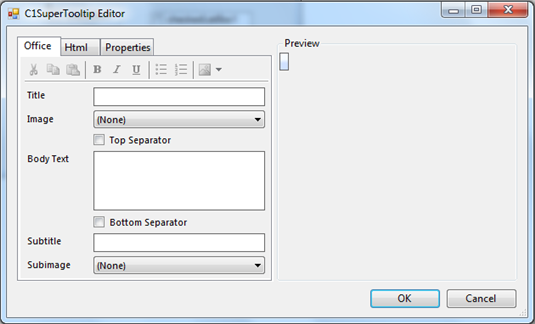
- Create your ToolTip using the Office tab or by adding HTML code on the Html tab.
- Set some of the properties on the Properties tab and click OK.
- Select Button2 and click the ellipsis button next to the ToolTip on C1SuperTooltip2 property in the Properties window.
- In the C1SuperTooltip Editor, create the second ToolTip and click the Properties tab.
- Set some properties using different values than you used for C1SuperTooltip1.
- Click OK to close the editor. The ToolTip on C1SuperTooltip1 property will remain empty for Button2.
- Run the project and mouse over each button. Notice how the C1SuperTooltip1 appears when you mouse over Button1, and C1SuperTooltip2 appears when you mouse over Button2. The styles and behaviors will be different, depending on the settings you used.