Step 2: Creating Nodes in TreeView
In This Topic
You can create nodes in TreeView either by using designer or through code in your application.
Using Designer
To create nodes in TreeView using designer, complete the following steps:
- Click the Smart Tag, and select Edit columns.
C1TreeColumn Collection Editor appears.
- Enter the relevant name and header text in the Name and the HeaderText fields respectively.
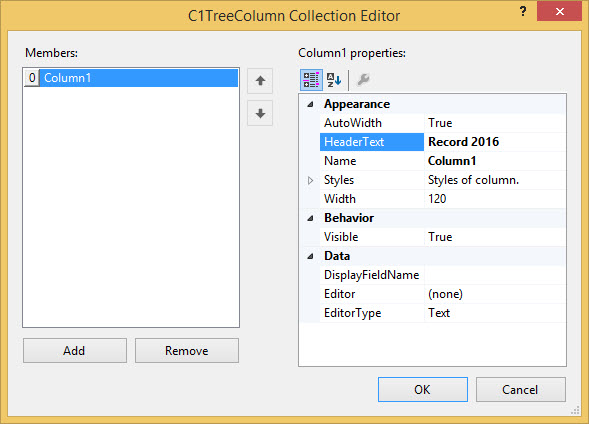
- Close C1TreeColumn Collection Editor.
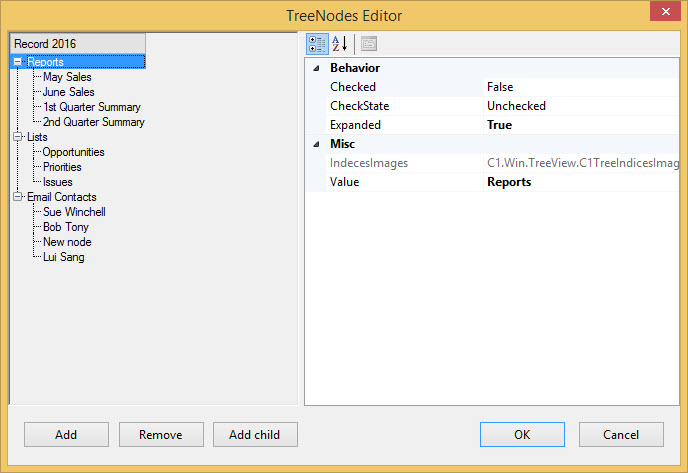
- Click the Smart Tag, and select Edit nodes.
TreeNodes Editor appears.
- Click Add to create a top-level node.
- Specify a custom label for the node in the Value property.
- Click Add child to add a child node to the selected node.
- Specify a custom label for the child node in the Value property.
- Repeat steps 7 to 10 as required in the application.
- Click OK to save the changes.
Through Code
To create nodes in TreeView programmatically, complete the following steps:
- Create new instances of a node.
- Add the parent node to the TreeView nodes collection.
- Set the value of the parent node.
- Add the child node to the parent node.
- Set the value of the child node.
- Repeat steps 3 to 7 to add more parent nodes and child nodes.