Step 2 of 4: Customizing the Application
In This Topic
In the previous step you created a new WPF or Silverlight project and added five C1NumericBox controls to the application. In this step you'll continue by adding additional controls to customize the application.
Complete the following steps:
- Navigate to the Visual Studio Toolbox and double-click the standard Label control twice to add Label1 and Label2 to your project.
- In the Visual Studio Toolbox, and double-click the standard Button control to add Button1 to your project.
- Click Label1 once to select it, and in the Properties window set its Content property to "Enter Combination:".
- Click Label2 once to select it, and in the Properties window set its Content property to "Invalid Combination" and its Foreground property to Red.
- Click Button1 once to select it, and in the Properties window set its Content property to "Enter" and its Visibility property to Hidden.
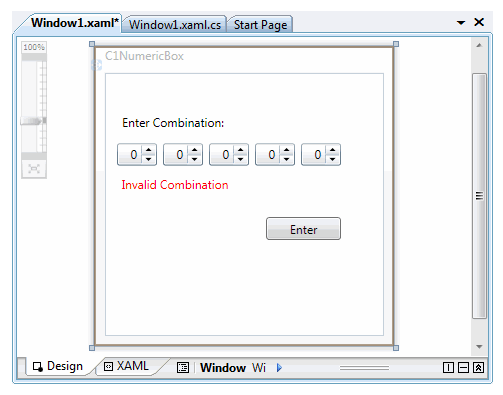
Your application will now look similar to the following:
You've successfully set up your application's user interface. In the next step you'll add code to your application.