Step 3 of 3: Running the Application
In This Topic
Now that you've created a Silverlight application or a WPF application, set up the application, and added code to add functionality to the application, the only thing left to do is run your application. To observe your application's run-time interactions, complete the following steps:
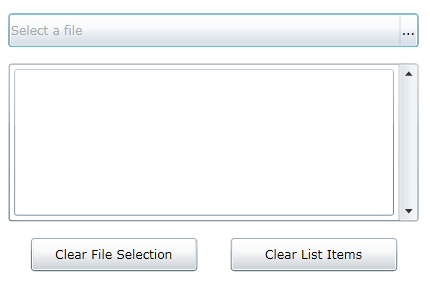
- Choose Debug | Start Debugging from the menu to run your application. The application will appear similar to the following image:
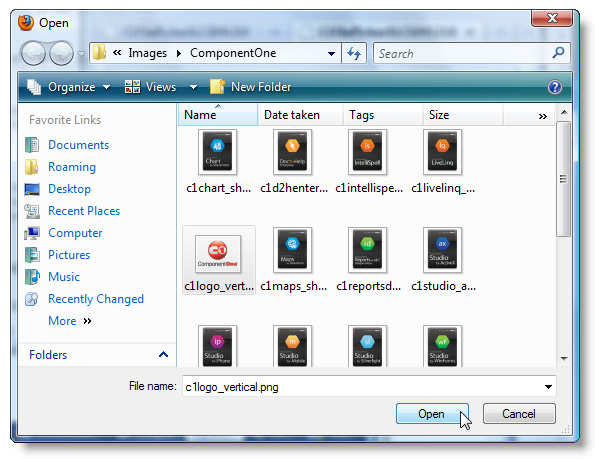
- Click the ellipses button on the C1FilePicker control. The Open dialog box will appear.
- In the Open dialog box, locate and select an image, and click Open to open the selected image:
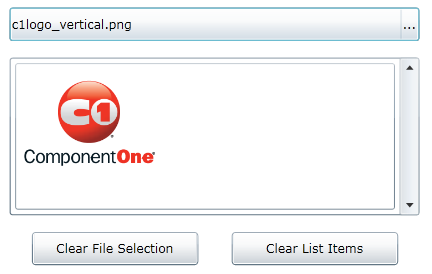
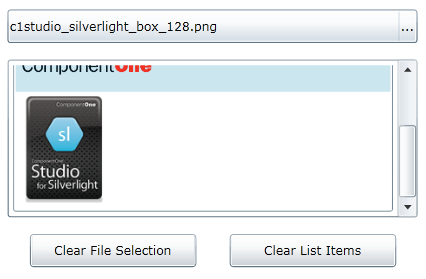
- The selected image will appear in the list box and the name of the file will appear in the C1FilePicker control:
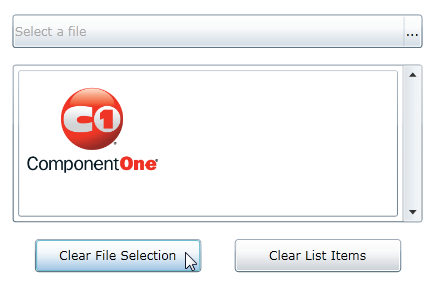
- Click the Clear File Selection button. Notice that the name of the file no longer appears in the C1FilePicker control:
- Click the ellipses button on the C1FilePicker control again. The Open dialog box will appear.
- In the Open dialog box, try to select more than one image. Notice that you cannot. That is because the Multiselect property is set to False by default. To select multiple files at one, you would need to set the Multiselect property to True.
- Select a file in the Open dialog box and click Open. Notice that the second file appears listed in the C1FilePicker control and has been added to the List Box:
- Click the Clear List Items button; the list of files will be cleared.
What You've Accomplished
Congratulations, you've completed the FilePicker for WPF and Silverlight quick start! You've created a simple application that uses FilePicker for WPF and Silverlight to select image files that are then displayed in another control.