Now that you've created a WPF application or a Silverlight application and customized the application's appearance, the only thing left to do is run your application. To run your application and observe C1DropDown's run-time behavior, and then further customize the control, complete the following steps:
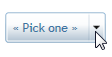
The application will appear similar to the following:
The C1DropDown control appears as a simple drop-down box. Notice the text that you specified appears in the header of the control.
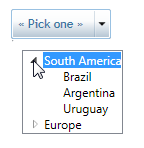
Observe that the drop-down box closes.
Congratulations!
You've completed the DropDown for WPF and Silverlight quick start and created a simple WPF or Silverlight application, added and customized a DropDown for WPF or Silverlight control, and viewed some of the run-time capabilities of the control.