In This Topic
This quick start gets you started with using Bitmap for loading an image. You begin by creating a WPF application in Visual Studio, adding a sample image to your application, and adding code to load the sample image in a standard image control using Bitmap. The code given in this section illustrates loading an image into bitmap through stream object.
Complete the steps given below to see how Bitmap can be used to load an image in a standard image control.
- Setting up the application and adding a sample image
- Adding code to load image using Bitmap
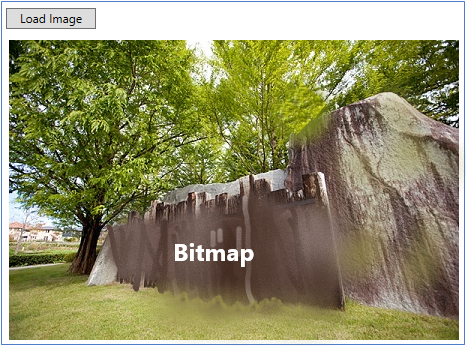
The following image shows how the application displays an image loaded in bitmap on a button click.
Step 1: Setting up the application and adding a sample image
- Create a WPF application in Visual Studio.
- Add the following references to your application.
- C1.WPF.4
- C1.WPF.Bitmap.4
- C1.WPF.Automation.4
- C1.WPF.DX.4
- In the Solution Explorer, right click your project name and select Add | New Folder and name it 'Resources'.
- In Visual Studio, add a sample image to the Resources folder and set its Build Action property to Embedded Resource from the Properties pane.
- Add a standard Button control for loading a sample image on button click, and an image control for displaying the sample image onto the MainWindow.
- Set the Content property of the button to a suitable text in XAML view.
Step 2: Adding code to load image using Bitmap
- Switch to the code view and add the following import statements.
- Initialize a bitmap in the MainWindow class.
- Subscribe a button click event and add the following code for loading the sample image into bitmap from a stream object.
- Add the following code to define UpdateImage method for displaying the sample image.
See Also