Step 4 of 4: Running the Grid Application
In This Topic
Now that you've created a grid application and bound the grid to a database, the only thing left to do is run your application. To run your grid application and observe Grid for WPF's run-time behavior, complete the following steps:
- From the Debug menu, select Start Debugging to view how your grid application will appear at run time.
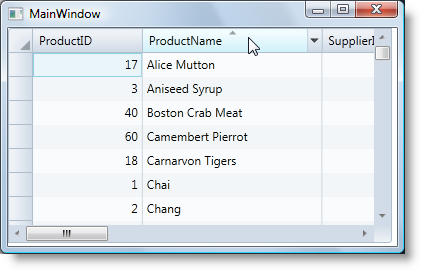
- Click the ProductName header to sort the grid by product name. Notice that a sort indicator glyph appears to indicate the column being sorted and the direction of the sort.
-
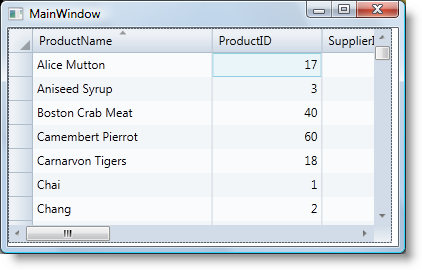
Re-order the columns by clicking the ProductName column header and dragging it in front of the ProductID column header. The ProductName column will now appear as the first column in the grid:
-
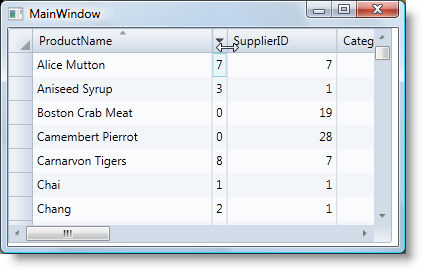
Resize a column, here the ProductID column, by clicking the right edge of the column and dragging the edge to a new location.
-
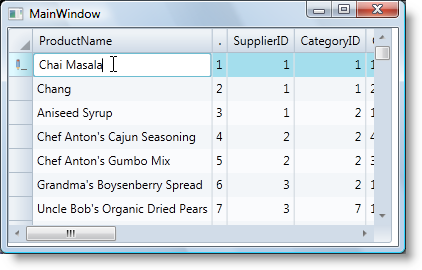
Click once on a cell, edit the contents of that cell, and press the ENTER key.
Congratulations! You've completed the DataGrid for WPF quick start and created a DataGrid for WPF grid application, bound the grid to a data source, and viewed some of the run-time capabilities of your grid application.