Step 2 of 4: Connecting to the DataSource
In This Topic
-
In this step, you'll add a C1DataSource component to the window (or page) and connect it to the Categories table of the data source.Double click the MainWindow.xaml in your Solution Explorer to open the page.
-
Drag a C1DataSource component from the Toolbox onto the window and name it c1DataSource1. This is a non-visual component, so it can be placed anywhere within the window's inner content. Note that if it does not appear in the toolbox, you can right-click the toolbox and choose Add Items. In the Choose Toolbox Items select WPF Components and click Browse to browse to the C1.WPF.Data.Entity.4.dll and then add it.
-
In the Properties window, set the C1DataSource's ObjectContextType property to the available item in the drop-down list. It should be something similar to AppName.NORTHWINDEntities.
-
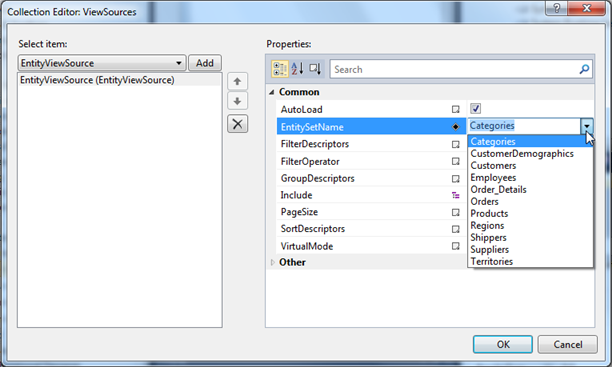
Click the ellipsis button next to the ViewSources property to open the ViewSources Collection Editor.
-
Click Add and set the EntitySetName property to Categories.
-
Click OK to close the editor.
With the database connected to C1DataSource, all you need to do is add a grid to display the data.