Now that you've created a WPF application with a C1DockControl and tab items, you're ready to run the application. Complete the following steps:
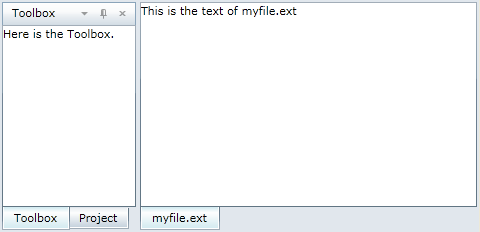
The Toolbox is docked on the left as we specified in the XAML.
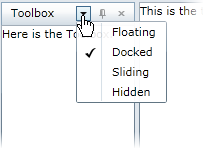
Note that you can also click the Project tab and select any of these options for the C1DockControl.
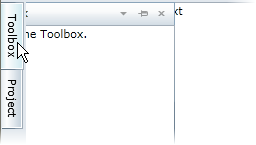
If you click the pushpin ![]() , the C1DockTabItems will appear on the left and slide open when clicked.
, the C1DockTabItems will appear on the left and slide open when clicked.
If you click the Hide button ![]() , the C1DockControl will be hidden.
, the C1DockControl will be hidden.
The second C1DockControl with the myfile.ext C1DockTabItem does not have a header since we set ShowHeader to False.
Congratulations! You have successfully completed the DockControl for WPF quick start. In this quick start, you've used the C1DockControl to create several windows that can float or be docked.