Step 1 of 3: Creating the Book Application
In This Topic
In this step you'll create a Silverlight application in Microsoft Expression Blend using Book for Silverlight. When you add a C1Book control to your application, you'll have a complete, functional book-like interface that you can add images, controls, and other elements to. To set up your project and add C1Book controls to your application, complete the following steps:
- In Expression Blend, select File | New Project.
- In the New Project dialog box, select the Silverlight project type in the left pane and in the right-pane select Silverlight Application + Website. Enter a Name and Location for your project, select a Language in the drop-down box, and click OK. A new application will be created and should open with the MainPage.xaml file displayed in Design view.
- Navigate to the Projects window and right-click the References folder in the project files list. In the context menu choose Add Reference, locate and select the C1.Silverlight.dll and C1.Silverlight.Extended.dll assemblies, and click Open. The dialog box will close and the references will be added to your project.
- In the Toolbox click on the Assets button (the double chevron icon) to open the Assets dialog box.
- In the Asset Library dialog box, choose the Controls item in the left pane, and then click on the C1Book icon in the right pane:
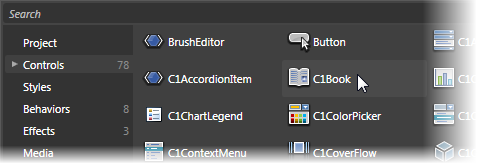
The C1Book icon will appear in the Toolbox under the Assets button.
- Click once on the design area of the UserControl to select it. Unlike in Visual Studio, in Blend you can add Silverlight controls directly to the design surface as in the next step.
- Double-click the C1Book icon in the Toolbox to add the control to the panel.
- Click once on the C1Book control in design view, navigate to the Properties window and set the following properties:
- Set Name to "c1book1" to give the control a name so it is accessible in code.
- Set Width to "450" and Height to "300".
- Set HorizontalAlignment and VerticalAlignment to Center to center the control in the panel.
- Check the IsFirstPageOnTheRight check box to set the first page to appear on the right side.
- Set the TurnInterval property to 600 to increase the time taken for the page turn animation.
The XAML will appear similar to the following:
<c1:C1Book x:Name="c1book1" Height="300" HorizontalAlignment="Center" VerticalAlignment="Center" Width="450" IsFirstPageOnTheRight="True" TurnInterval="600"/>
The page's Design view should now look similar to the following image (with the C1Book control selected on the form):
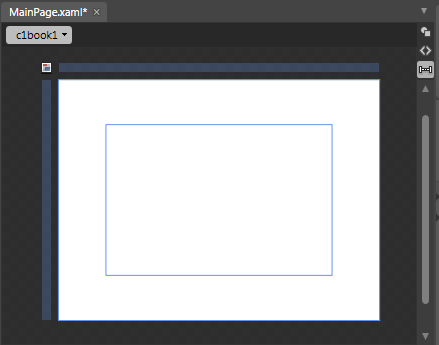
You've successfully set up your application's user interface, but C1Book control currently contains no content. In the next step you'll add content to the C1Book control, and then you'll add code to your application to add functionality to the control.