ComponentOne Gauges for WPF and Silverlight
WPF Quick Start / Step 1 of 3: Setting up the Application
In This Topic
    Step 1 of 3: Setting up the Application
    In This Topic

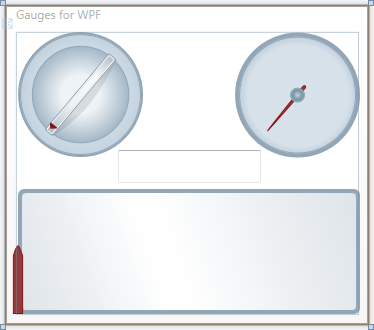
    In this step you'll begin in Visual Studio to create a WPF application using Gauges for WPF. In this step you'll set up the application by adding C1RadialGaugeC1LinearGauge, and C1Knob controls to the project as well as a standard TextBox control which will display the current value of the gauge controls.

    To set up your project and add the gauge controls to your application, complete the following steps:

    1. Create a new WPF project in Visual Studio.
    2. Right-click your project in the Solution Explorer and choose Add Reference.
    3. In the Add Reference dialog box, locate and choose the C1.WPF.dll, C1.WPF.Gauge.dll, and WPFToolkit.dll assemblies and click OK to add references to those assemblies to your application.
    4. Navigate to the Toolbox and double-click the following icons to add the controls to Window1:
      • C1RadialGauge
      • C1LinearGauge
      • C1Knob
      • C1TextBox
    5. Resize the window and arrange the controls in the window so that they appear similar to the following:


    You've successfully set up your application's user interface – you've created a WPF application, added Gauges for WPF controls to the application, and customized those controls. In the next step you'll add code to your application.