PrintDocument for WPF | ComponentOne
In This Topic
    Quick Start
    In This Topic

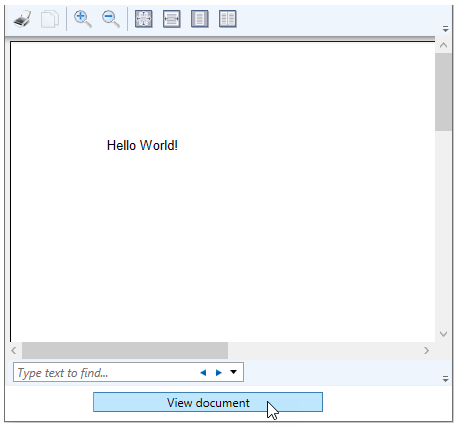
    This quick start gets you started with PrintDocument by letting you create a WPF application, add basic previewing control like the DocumentViewer to it.

    To quickly get started using PrintDocument, follow these steps:

    Add DocumentViewer

    1. Create a WPF app in Visual Studio.
    2. Add the C1.Xaml.WPF.PrintDocument nuget package.                          
    3. Drag and drop the document-viewing control C1.WPF.PrintDocument.C1DocumentViewer from the Toolbox to the form.
    4. Drag and drop a Button control from the Toolbox to your form. Arrange both DocumentViewer and Button on the form as given in the image above.

    Configure PrintDocument

    1. Switch to the code view and add C1.Preview namespace:
      C#
      Copy Code
      using C1.C1Preview;
      
    2. Add the following code to the Button_Click event to add text to the preview document and generate the document.
      C#
      Copy Code
      private void button_Click(object sender, RoutedEventArgs e)
      {
          C1.C1Preview.C1PrintDocument doc = new C1.C1Preview.C1PrintDocument();
          doc.Body.Children.Add(new RenderText("Hello World!"));
          documentViewer.Document = doc.FixedDocumentSequence;
      }
      

    Build and Run the Project

    1. Click Build | Build Solution to build the project.
    2. Press F5 to run the project.
    3. Observe some of the run-time interactions with the preview control.