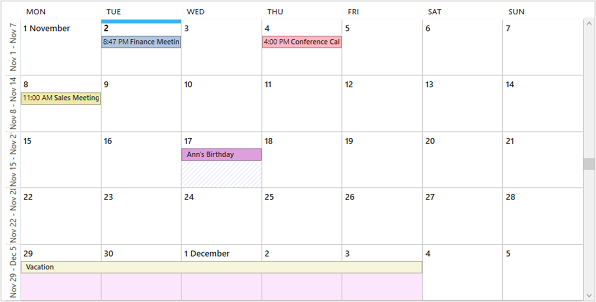
A label is simply a color-coded marker that can be added to appointments so that you and others know what type of appointment it is without even having to view its details. There are twelve predefined labels available in Scheduler. The color of the label is visible in every data view in the Scheduler control.
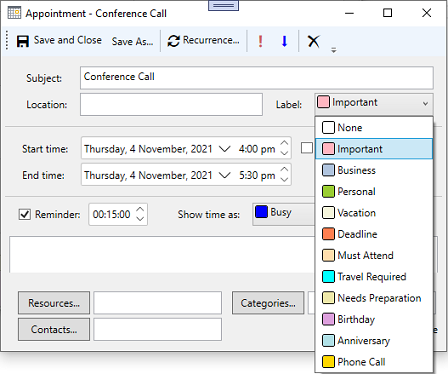
Labels can be set for any appointment at design time by selecting the desired label from the Label dropdown in the Appointment dialog as showcased in the image below.
Predefined Labels
The predefined labels include the following:
|
Label |
Color |
Index |
|---|---|---|
|
None |
|
0 |
|
Important |
|
1 |
|
Business |
|
2 |
|
Personal |
|
3 |
|
Vacation |
|
4 |
|
Deadline |
|
5 |
|
Must Attend |
|
6 |
|
Travel Required |
|
7 |
|
Needs Preparation |
|
8 |
|
Birthday |
|
9 |
|
Anniversary |
|
10 |
|
Phone Call |
|
11 |
To add a label associated to an appointment programmatically, you can use Label property of the Appointment class and set its index (from the above table) based on your requirements. For instance, the following code demonstrates how you can add "Important" label to an appointment:
| C# |
Copy Code
|
|---|---|
//Showing Labels
// adding 'Important' label.
appointment.Label = scheduler.DataStorage.LabelStorage.Labels[1];
|
|


