This section describes how to add a FlexPie control to your android app and add data to it. This topic comprises of three steps:
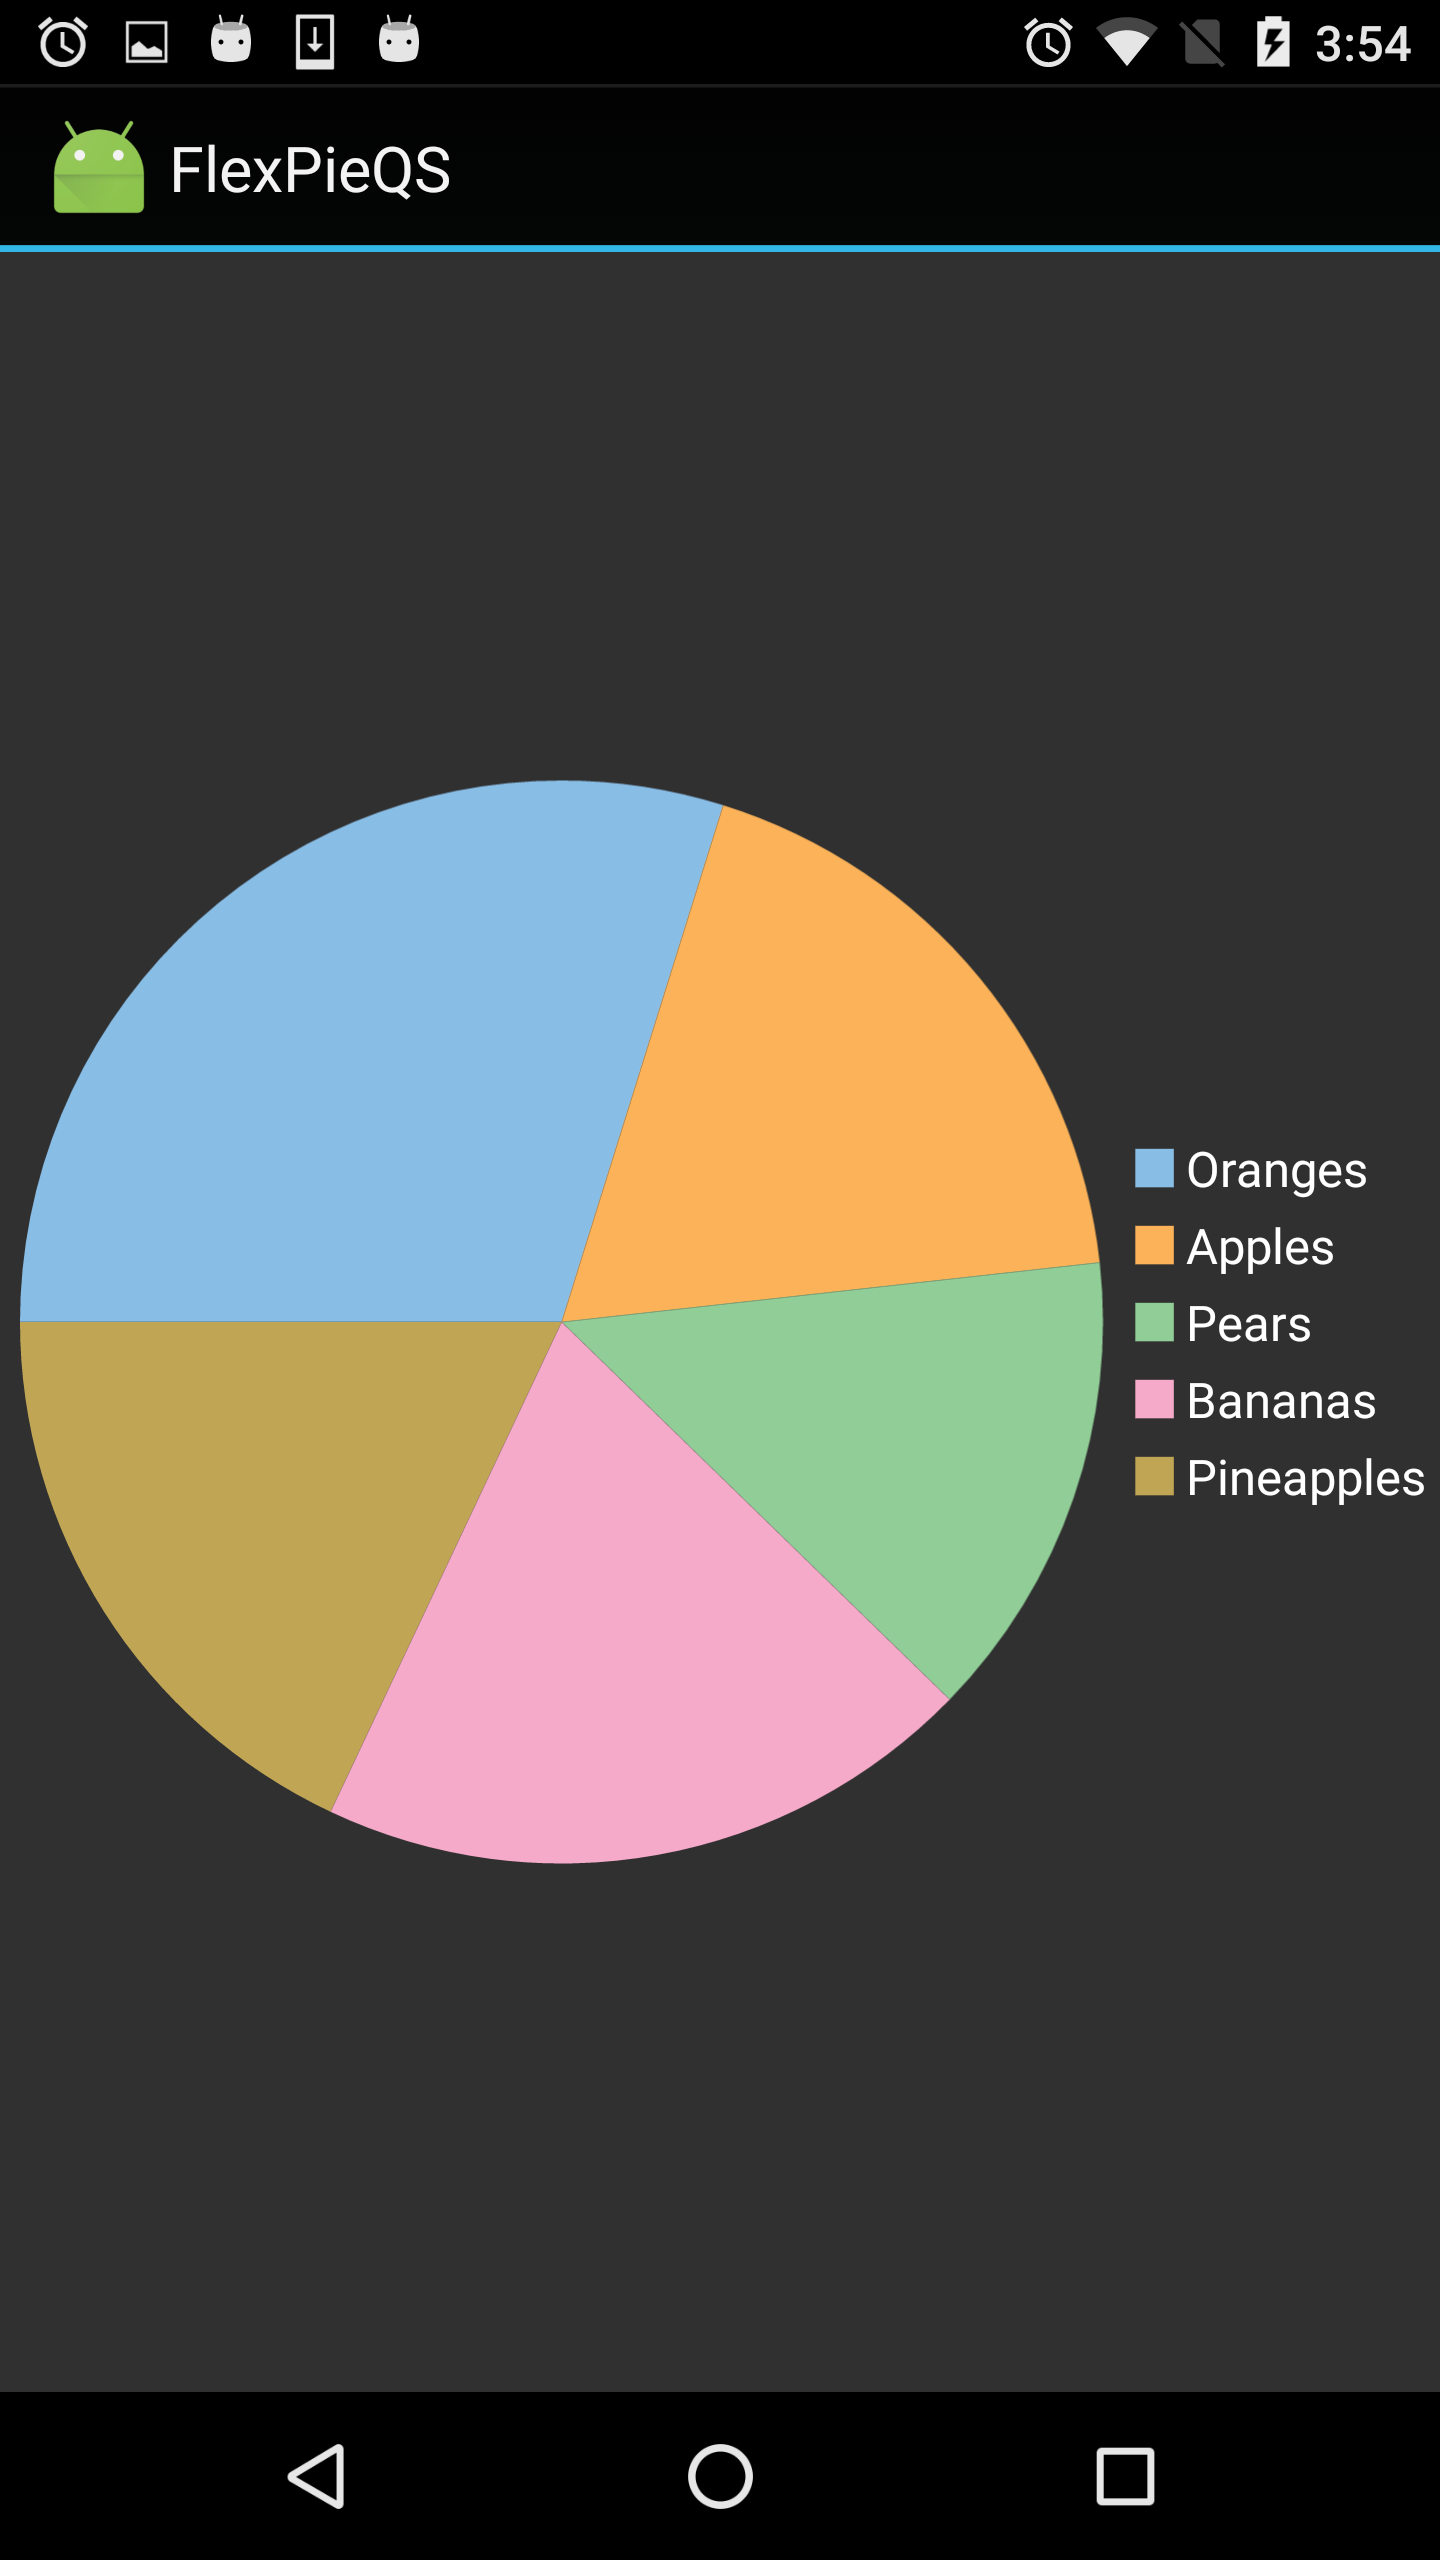
The following image shows how the FlexPie appears after completing the steps above:
Add a new class to serve as the data source for FlexPie control.
| PieChartData |
Copy Code |
|---|---|
public class PieChartData { public string Name {get; set;} public double Value {get; set;} public static IEnumerable<PieChartData> DemoData() { List<PieChartData> result = new List<PieChartData> (); string[] fruit = new string[]{"Oranges","Apples","Pears","Bananas","Pineapples" }; Random r = new Random (); foreach (var f in fruit) result.Add (new PieChartData { Name = f, Value = r.Next(100) * 101}); return result; } } | |
To add a FlexPie control to your layout, open the .axml file in your layout folder from the Solution Explorer and replace its code with the code below.
| XML |
Copy Code |
|---|---|
<?xml version="1.0" encoding="utf-8"?> <C1.Android.Chart.FlexPie xmlns:android="http://schemas.android.com/apk/res/android" android:id="@+id/flexPie" android:layout_width="match_parent" android:layout_height="match_parent" android:layout_gravity="center"/> | |
Alternatively, you can drag a FlexPie control from the Toolbox within the custom control tab onto your layout surface in designer mode. Then, inside your activity, add the following code to the OnCreate method to initialize your layout.
| CS |
Copy Code |
|---|---|
public class GettingStartedActivity : Activity { private FlexPie mFlexPie; protected override void OnCreate(Bundle savedInstanceState) { // setting the dark theme // FlexPie automatically adjusts to the current theme SetTheme(Android.Resource.Style.ThemeHolo); base.OnCreate(savedInstanceState); SetContentView(Resource.Layout.flexpie_activity_getting_started); // initializing widgets mFlexPie = (FlexPie)FindViewById(Resource.Id.flexPie); mFlexPie.BindingName = "Name"; mFlexPie.Binding = "Value"; // setting the source of data/items and default values in FlexPie mFlexPie.ItemsSource = PieChartData.DemoData(); } } | |
Press F5 to run the application.