
Effects
Image filters change the appearance of an image by altering the pixel colors or increasing the contrast to display enhanced images.
DsImageViewer provides eight such effects that change the appearance of the images using pre-defined filters Brightness, Contrast, Vibrance, Saturation, Grayscale, Invert, Offset Blue, and Retro Violet. It also provides an Original filter that reverts the image to its original state.
The table below mentions the default image filters and their corresponding descriptions:
Image Filters | Description |
|---|---|
Original | Original reverts the image to its original state. |
Brightness | Brightness modifies the overall lightness of an image by adjusting the intensity of each pixel's color channels. |
Contrast | Contrast modifies the difference between light and dark areas in an image by adjusting pixel values' intensity, creating clearer separation between elements. |
Vibrance | Vibrance adjusts and enhances the intensity of all the colors in an image except the most saturated colors, and it also protects the skin tones of your image. |
Saturation | Saturation adjusts and enhances the intensity of all the colors in an image. |
Grayscale | Grayscale applies a range of shades of gray to an image without apparent color. |
Invert | Invert effect reverses the color of an image. While inverting an image, white becomes black, black becomes white, orange becomes blue and so on. |
Offset Blue | Offset Blue effect applies a range of shades of blue to an image without background colors. |
Retro Violet | Retro Violet effect applies a range of retro shades to an entire image. |
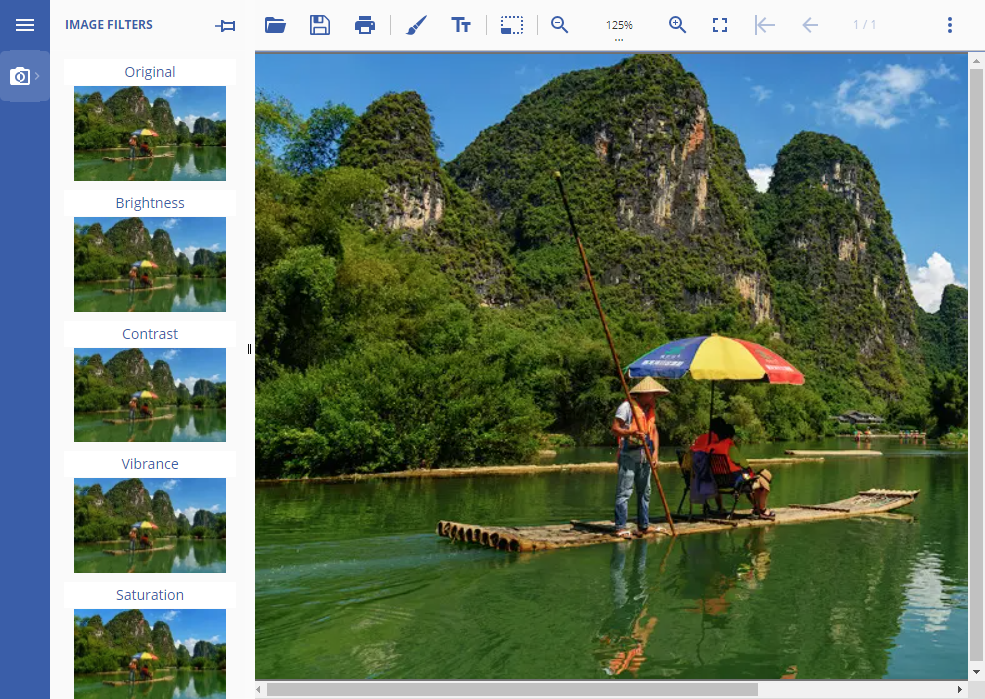
DsImageViewer provides the Image Filters tool through ImageFiltersPlugin. Refer to Using Plug-ins for details. After adding the ImageFiltersPlugin, the Image Filters button ( ) appears in the sidebar of the DsImageViewer, which displays each effect in the side panel upon clicking.
You can also set the showToolbarButton option of PluginViewerOptions type to show the Image Filters button () in the main toolbar, which displays all the effects in the secondary toolbar upon clicking.
// Initialize DsImageViewer.
var viewer = new DsImageViewer(selector);

// Add Image effects button to the toolbar.
viewer.addPlugin(new ImageFiltersPlugin({showToolbarButton: 1}));

// Add and open secondary toolbar through code.
viewer.showSecondToolbar("image-filter-tools");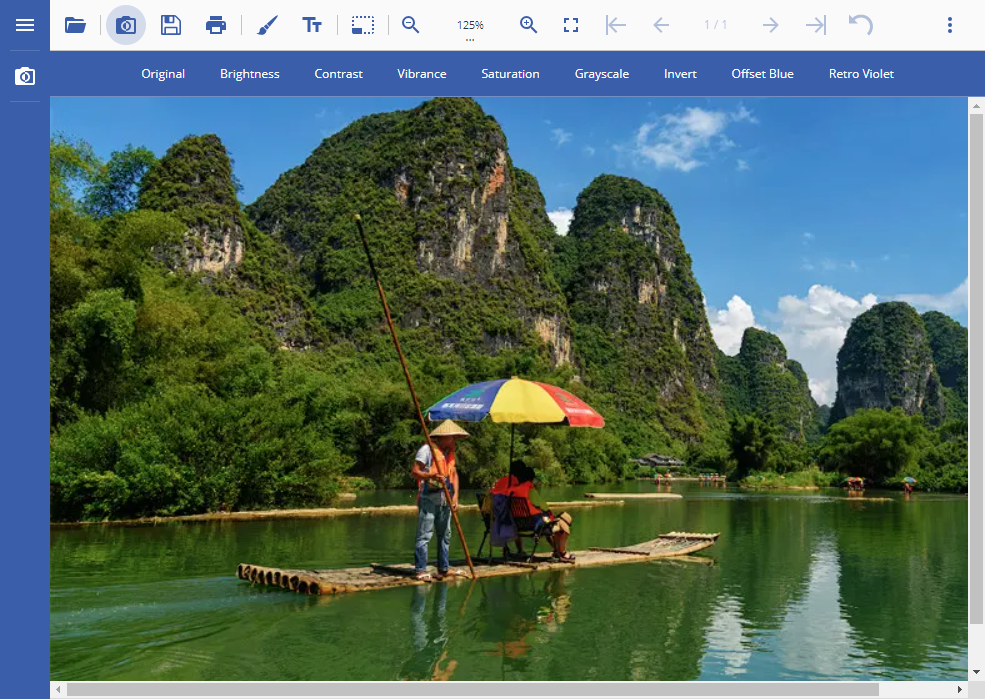
The difference between these two options is that you can directly apply the filter using the secondary toolbar by clicking on an effect. However, with the side panel, you have different options to adjust intensity, preview, apply, or cancel the filter effect, as described in the table below:
Feature | Icon | Description |
|---|---|---|
Intensity |
| Sets the intensity of the filter by adjusting the slider. |
Preview Toggle Button |
| Applies the filter temporarily and displays the resulting image in the viewer before the filter is actually applied. |
Apply |
| Applies the image filter by clicking on it or pressing Enter or Ctrl + Enter keys. |
Cancel |
| Cancels the changes and closes the filter preview by clicking on it or pressing Esc key. |


Refer to the following GIF image to apply an image filter to the image through the filter sidebar panel:
Note that DsImageViewer applies the filter effects incrementally. This means it applies the first effect to the original image and any subsequent effects to the variants rather than the original image. This is clear when applying filter effects via the Image Filters sidebar, where all filter effect previews are updated as soon as an effect is applied to the image. This is because any additional effects are applied to the new image variant rather than the original image. To apply another effect on the original image after applying an effect, you need to undo the previous effect either by clicking the undo button if only one effect was applied earlier or by applying the Original filter effect (if more than one effect is applied to the image) and then apply a new effect on the original image.
Apply Image Filters using API
To apply built-in filters to an image through code, you can add the Image filter plug-in and use applyFilter method of the imageFiltersPlugin class. For information about adding plug-ins, see Using Plug-ins.
var viewer;
function applyFilter() {

    // filter list: grayscale, invert, offsetblue, retro-violet
    viewer.findPlugin("imageFilters").applyFilter("grayscale").then(function (e, args) {
        if (e) {
            console.log("grayscale filter applied.");
        } else {
            console.log("Image filtering failed");
        }
    })
}
Custom Image Filter
DsImageViewer allows you to create your own custom image filter which can be applied through the plug-in UI as well as code. You can create a new filter by using filters option of the imageFiltersPlugin class.
The code below shows how to create a custom image filter and add it to the secondary toolbar of the Image Filters plug-in. In this example, we have added a custom filter named "Lemon effect".

// add custom Image filter to existing list
var availableFilters = imageFiltersPlugin.filters;
availableFilters['lemon-effect'] = {
    filterId: "lemon-effect",
    toolbarKey: "lemon-effect",
    title: "Apply Custom Lemon effect",
    text: "Lemon effect",
    action: function (imageData) {
        for (i = 0; i < imageData.data.length; i += 4) {
            imageData.data[i + 1] = imageData.data[i] + 45; // increase green component
        }
        return imageData;
    }
};Note: DsImageViewer does not support editing of multi-frame and animation images such as .gif, .ico, .tiff, and .svg files.