Setting up an application
GcImaging references are available through NuGet, a Visual Studio extension that adds the required libraries and references to your project automatically. To work with GcImaging, you need to have following references in your application:
| Reference | Purpose |
|---|---|
| GrapeCity.Documents.Imaging |
To use GcImaging in an application, you need to reference (install) just the GrapeCity.Documents.Imaging package. It will pull in the required infrastructure packages. |
| GrapeCity.Documents.Common | GrapeCity.Documents.Common is an infrastructure package used by GcImaging. You do not need to reference it directly. |
| GrapeCity.Documents.Common.Windows | On a Windows system, you can optionally install GrapeCity.Documents.Common.Windows. It provides support for font linking specified in the Windows registry, and access to native Windows imaging APIs, improving performance and adding some features (e.g. reading TIFF-JPEG frames). |
| GrapeCity.Documents.DX.Windows | GrapeCity.Documents.DX.Windows is an infrastructure package used by GrapeCity.Documents.Common.Windows. You do not need to reference it directly. |
Add reference to GcImaging in your application from NuGet.org
In order to use GcImaging in a .NET Core, ASP.NET Core, .NET Framework application (any target that supports .NET Standard 2.0), install the NuGet packages in your application using the following steps:
- Open Visual Studio.
- Create any application (any target that supports .NET Standard 2.0).
- Right-click the project in Solution Explorer and choose Manage NuGet Packages.
- In the Package source on top right, select nuget.org.
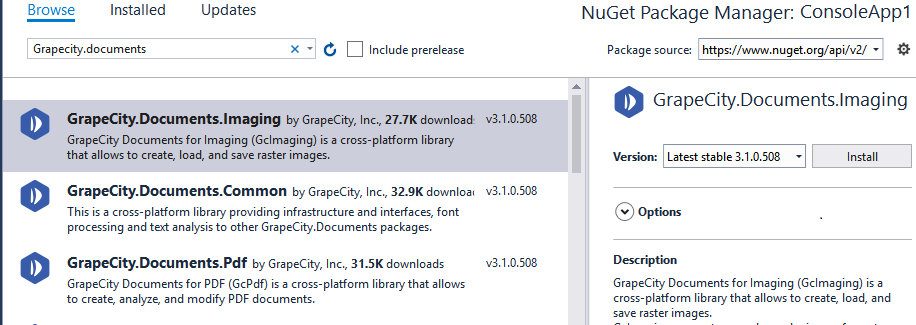
- Click Browse tab on top left and search for "Grapecity.Documents".
- On the left panel, select GrapeCity.Documents.Imaging
- On the right panel, click Install.
- In the Preview Changes dialog, click OK and choose I Accept in the next screen.
This will add required references of the package to your application.
- Open Visual Studio for Mac.
- Create any application (any target that supports .NET Standard 2.0).
- In tree view on the left, right-click Dependencies and choose Add Packages.
- In the Search panel, type "GrapeCity.Documents".
- From the list of packages displayed in the left panel, select GrapeCity.Documents.Imaging and click Add Packages.
- Click Accept.
This will automatically add references of the package and its dependencies to your application.
- Open Visual Studio Code.
- Install Nuget Package Manager from Extensions.
- Create a folder "MyApp" in your Home folder.
- In the Terminal in Visual Studio Code, type "
cd MyApp" - Type command"
dotnet new console"
Observe: This creates a .NETCore application with MyApp.csproj file and Program.cs. - PressCtrl+P.A command line opens at the top.
- Type command: "
>"
Observe: "Nuget Package Manager: Add Package" option appears. - Click the above option.
- Type "Grapecity" and press Enter.
Observe: GrapeCity packages get displayed in the dropdown. - Choose GrapeCity.Documents.Imaging.
- Type following command in the Terminal window: "
dotnet restore"
This will add references of the package to your application.