The Angular CLI (Command Line Interface) is one of the most popular additions to the Angular developer’s toolbox, allowing automation of the many challenges that come with developing with Angular, making it easier to get started. SpreadJS can work with Angular, so it's only natural that developers may want to use it with the Angular CLI.
This tutorial shows how to automate the creation of a simple Angular spreadsheet application with SpreadJS.
Get Sample
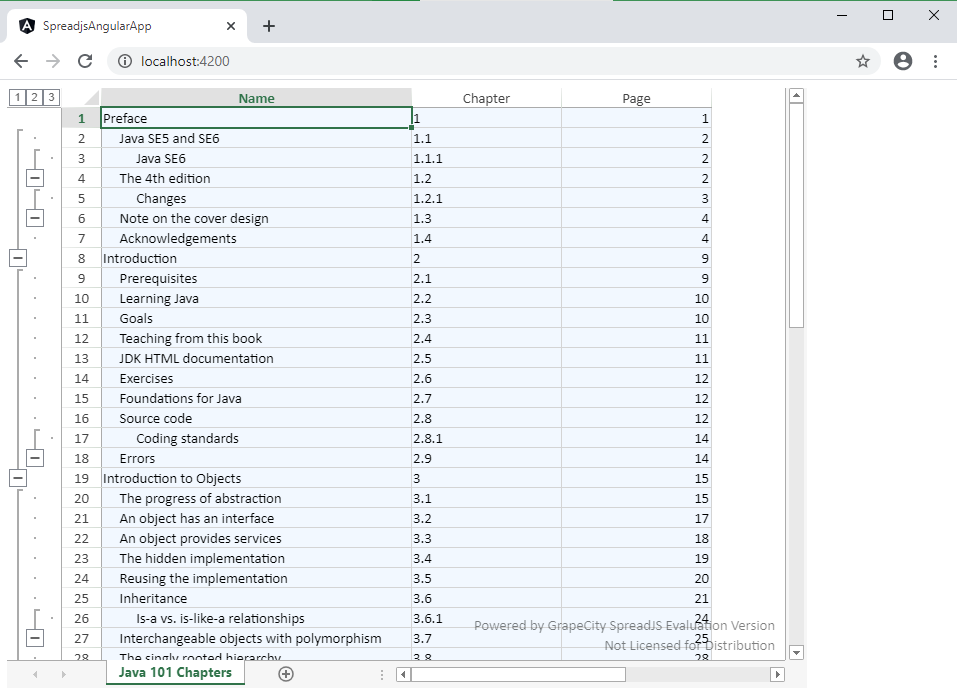 The Final Result
Set Up the Angular Spreadsheet
This tutorial will focus on using the Command Prompt, so go ahead and open it.
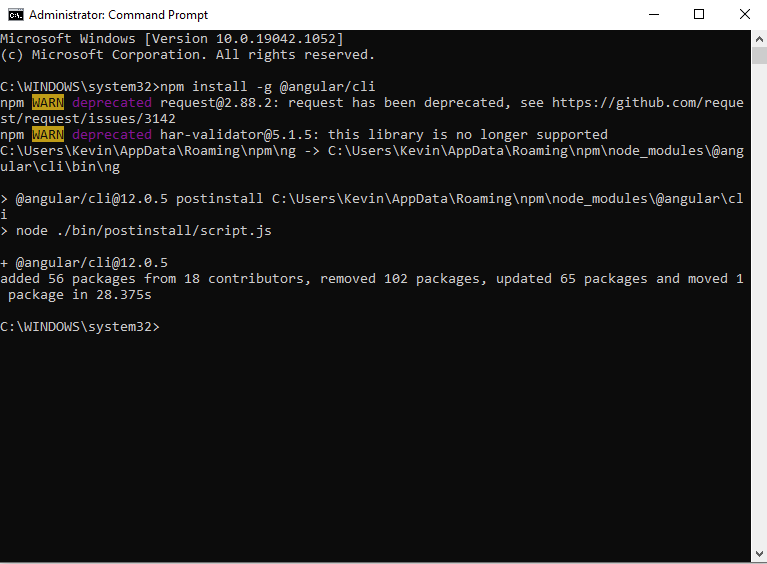
We have to install the Angular CLI globally, which you can accomplish with the following command:
npm install -g @angular/cli
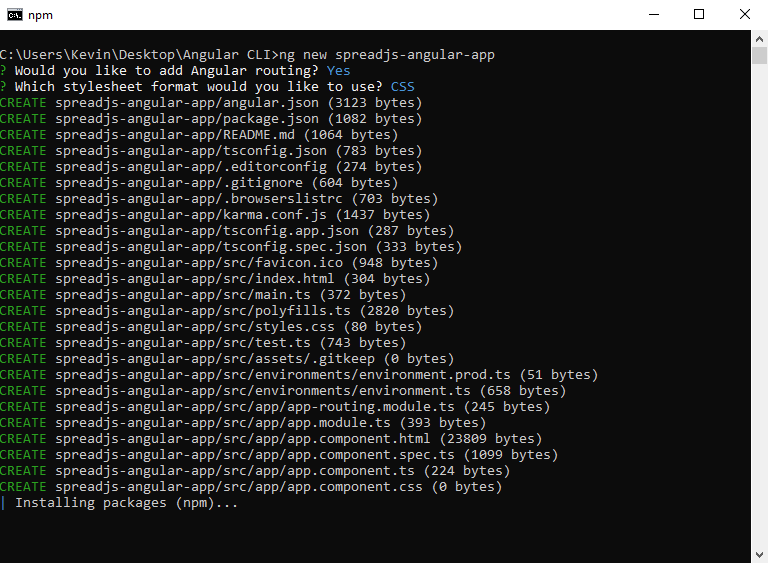
When that is installed, you can create a new project with the Angular CLI. For our purposes, name the project "spreadjs-angular-app". In the command prompt, navigate to where you want your application to live and type the following command:
ng new spreadjs-angular-app
That action will create a directory with all of the required files to run an Angular application. To add SpreadJS, get the files from NPM by running the following command to install the SJS files within the project's directory:
npm install @grapecity/spread-sheets @grapecity/spread-sheets-angular
Once the files are installed, we need to let the application know their location. The first file to edit is the "angular.json" file in the project's root.
We have to add to the "styles" and "scripts" properties:
{
    ...
    "projects": {
        "spread-sheets-app": {
            ...
            "architect": {
                "build": {
                    ...
                    "options": {
                        ...
                        "styles": [
                            "src/styles.css",
                            "node_modules/@grapecity/spread-sheets/styles/gc.spread.sheets.excel2013white.css"
                        ],
                        "scripts": [
                            "node_modules/@grapecity/spread-sheets/dist/gc.spread.sheets.all.min.js"
                        ]
                    },
                    ...
                }
            }
        }
    },
    ...
}
We also want to add links to the files in the "tsconfig.app.json" file:
{
  ...
  "files": [
    ...
    "./node_modules/@grapecity/spread-sheets-angular/dist/gc.spread.sheets.angular.ts",
    "./node_modules/@grapecity/spread-sheets/dist/gc.spread.sheets.d.ts"
  ],
  ...
}
Finally, add the SpreadJS Angular spreadsheet component to the "src>app>app.module.ts" file:
import { NgModule } from '@angular/core';
import { BrowserModule } from '@angular/platform-browser';

import { SpreadSheetsModule } from '@grapecity/spread-sheets-angular';

import { AppRoutingModule } from './app-routing.module';
import { AppComponent } from './app.component';

@NgModule({
  declarations: [
    AppComponent
  ],
  imports: [
    BrowserModule,
    SpreadSheetsModule,
    AppRoutingModule
  ],
  providers: [],
  bootstrap: [AppComponent]
})
export class AppModule { }
Add HTML and JavaScript Code for the Angular Spreadsheet Application
In the same folder as the "app.module.ts" file, we can modify the "app.component.html" file to show the SpreadJS component:
<gc-spread-sheets [backColor]="spreadBackColor" [hostStyle]="hostStyle" (workbookInitialized)="initSpread($event)">
  <gc-worksheet [name]="sheetName" [dataSource]="data" [rowOutlineInfo]="rowOutlineInfo">
    <gc-column dataField="name" headerText="Name" [width]="columnWidth[0]"></gc-column>
    <gc-column dataField="chapter" headerText="Chapter" [width]="columnWidth[1]"></gc-column>
    <gc-column dataField="page" headerText="Page" [width]="columnWidth[2]"></gc-column>
  </gc-worksheet>
</gc-spread-sheets>
We will define the different properties in the above in script code. In this case, the script will be added to the "app.component.ts" file in the same folder. We can start by initializing the component with some preliminary variables, as well as our license for SJS:
import { Component } from '@angular/core';
import * as GC from "@grapecity/spread-sheets";

GC.Spread.Sheets.LicenseKey = "<YOUR LICENSE HERE>";

@Component({
  selector: 'app-root',
  templateUrl: './app.component.html',
  styleUrls: ['./app.component.css']
})
export class AppComponent {
  spread?: GC.Spread.Sheets.Workbook;
  title = 'spreadjs-angular-app';
  spreadBackColor = 'aliceblue';
  sheetName = 'Java 101 Chapters';
  hostStyle = {
    width: '800px',
    height: '600px'
  };
  data: any;
  rowOutlineInfo: any;
  showRowOutline = true;
  columnWidth = [310,150,100];

  initSpread($event: any) {
    this.spread = $event.spread;
    let spread = this.spread;
    spread?.suspendPaint();
  }
}
Since we are binding to data, we can add a constructor to the AppComponent class to initialize that data:
constructor() {
  // This is the base data that we will bind to the Spread instance
  let commands = [
    { name: 'Preface', chapter: '1', page: 1, indent: 0 },
    { name: 'Java SE5 and SE6', chapter: '1.1', page: 2, indent: 1 },
    { name: 'Java SE6', chapter: '1.1.1', page: 2, indent: 2 },
    { name: 'The 4th edition', chapter: '1.2', page: 2, indent: 1 },
    { name: 'Changes', chapter: '1.2.1', page: 3, indent: 2 },
    { name: 'Note on the cover design', chapter: '1.3', page: 4, indent: 1 },
    { name: 'Acknowledgements', chapter: '1.4', page: 4, indent: 1 },
    { name: 'Introduction', chapter: '2', page: 9, indent: 0 },
    { name: 'Prerequisites', chapter: '2.1', page: 9, indent: 1 },
    { name: 'Learning Java', chapter: '2.2', page: 10, indent: 1 },
    { name: 'Goals', chapter: '2.3', page: 10, indent: 1 },
    { name: 'Teaching from this book', chapter: '2.4', page: 11, indent: 1 },
    { name: 'JDK HTML documentation', chapter: '2.5', page: 11, indent: 1 },
    { name: 'Exercises', chapter: '2.6', page: 12, indent: 1 },
    { name: 'Foundations for Java', chapter: '2.7', page: 12, indent: 1 },
    { name: 'Source code', chapter: '2.8', page: 12, indent: 1 },
    { name: 'Coding standards', chapter: '2.8.1', page: 14, indent: 2 },
    { name: 'Errors', chapter: '2.9', page: 14, indent: 1 },
    { name: 'Introduction to Objects', chapter: '3', page: 15, indent: 0 },
    { name: 'The progress of abstraction', chapter: '3.1', page: 15, indent: 1 },
    { name: 'An object has an interface', chapter: '3.2', page: 17, indent: 1 },
    { name: 'An object provides services', chapter: '3.3', page: 18, indent: 1 },
    { name: 'The hidden implementation', chapter: '3.4', page: 19, indent: 1 },
    { name: 'Reusing the implementation', chapter: '3.5', page: 20, indent: 1 },
    { name: 'Inheritance', chapter: '3.6', page: 21, indent: 1 },
    { name: 'Is-a vs. is-like-a relationships', chapter: '3.6.1', page: 24, indent: 2 },
    { name: 'Interchangeable objects with polymorphism', chapter: '3.7', page: 25, indent: 1 },
    { name: 'The singly rooted hierarchy', chapter: '3.8', page: 28, indent: 1 },
    { name: 'Containers', chapter: '3.9', page: 28, indent: 1 },
    { name: 'Parameterized types (Generics)', chapter: '3.10', page: 29, indent: 1 },
    { name: 'Object creation & lifetime', chapter: '3.11', page: 30, indent: 1 },
    { name: 'Exception handling: dealing with errors', chapter: '3.12', page: 31, indent: 1 },
    { name: 'Concurrent programming', chapter: '3.13', page: 32, indent: 1 },
    { name: 'Java and the Internet', chapter: '3.14', page: 33, indent: 1 },
    { name: 'What is the Web?', chapter: '3.14.1', page: 33, indent: 2 },
    { name: 'Client-side programming', chapter: '3.14.2', page: 34, indent: 2 },
    { name: 'Server-side programming', chapter: '3.14.3', page: 38, indent: 2 },
    { name: 'Summary', chapter: '3.15', page: 38, indent: 1 },
    { name: 'End', chapter: '', indent: null }
  ];
}
We will use row outlining for this particular data, so we can add code to that constructor to create row outlines for each row in the data source. The following logic will create row outlines based on the "indent" value for each data row and indents them to the specified amount of spaces as well:
// Create a rowOutlineInfo object for each row
this.rowOutlineInfo = [];
for (let r = 0; r < commands.length; r++) {
  var subRows = 0, indent1 = commands[r].indent;
  // Get the number of rows that subrows to the current one and add them to the outline
  for (let r2 = r + 1; r2 < commands.length; r2++) {
    let indent2 = commands[r2].indent;
    if ((indent1 !== null) && (indent2 !== null)) {
      if(indent2 > indent1) {
        subRows++;
      }
    }
    if ((r2 == (commands.length - 1)) || (commands[r2].indent == commands[r].indent)) {
      var i = { index: r + 1, count: subRows }
      this.rowOutlineInfo.push(i);
      break;
    }
  }

  // Add tabs based on the indent column
  if (indent1 != null) {
    for (let i = 0; i < indent1; i++) {
      commands[r].name = "\t\t\t\t\t" + commands[r].name;
    }
  }
}
Finally, we can set the data for the Spread instance:
// Set the data for Spread
this.data = commands;
Build and Run Your Angular Spreadsheet
The code for the application is complete, so now we need to build and run it. To do this, we can go back to the command prompt and enter the following command:
ng serve
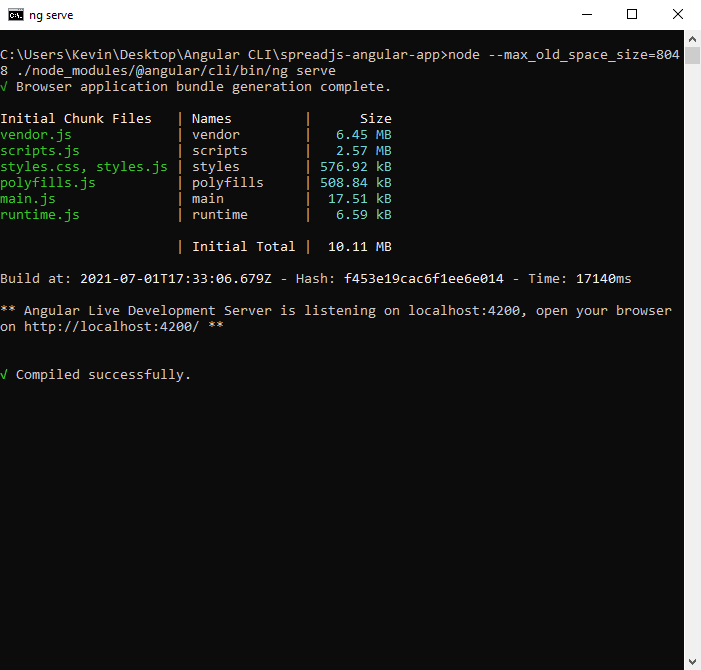
If you are running into a heap memory error, run this command instead:
node --max_old_space_size=8048 ./node_modules/@angular/cli/bin/ng serve
Once the application is built successfully, you can view your JavaScript Excel spreadsheet in a browser by navigating to "localhost:4200":
 Successful build
SpreadJS can be used with many different frameworks–Angular is just one option. The Angular CLI makes creating applications simple, and SpreadJS makes displaying your data easier than ever before.

Kevin Ashley